Textured photo page with Distress Crackle Paint
Good Morning everyone and a very Happy Janmashtmi to all.. This is Khushboo this side bringing to you another set of inspiration for the current " Nail It With Textures Challenge".
So for everyone who knows me would realize I am not a big fan of textures.. I like to keep things relatively simple so textures was way out of my comfort zone but this time around when Saumya challenge us to use it on a hanging, I gladly took up the challenge. Now you have been getting a lot of tips, techniques and how-to's with the DTs and I hope it is a learning experience for everyone.. It sure is for me... :)
I made a photo page Layout using the ranger Distress Crackle Paint to add some texture to my layout... Now one may ask what is the whole fuss about crackle paint.. So here is what Tim Holtz has to say about it.. "Distress Crackle Paint is just that…paint that dries with a crackled effect. This is not the “2-part” crackle finishes that you see in hardware or craft stores, but an acrylic paint that has more of the look of “dried or cracked earth”. What is so special about it is that the paint cracks on its own as it dries and comes in the beautiful 24 color Distress™ color palette. A multitude of looks can be created, from grungy to vintage distressed to shabby chic!"
He also shares some tips regarding usage of the crackle paint.
1. Shake the jar to mix the paint. If it is a little thicker, add some mists of water with a Mini Mister™. Stir and add more mists of water as needed until you have a smoother consistency. Note: only add water to Crackle Paint IF NEEDED.
2. Apply Distress Crackle Paint to a surface that has some “tooth” (something that the paint can grab onto) such as paper, Grungeboard™, chipboard or primed canvas. If using unfinished wood or natural canvas, it is suggested to prime the surface first with gesso or acrylic paint, such as the Adirondack® Acrylic Paint Dabbers.
3. It is ideal to paint medium to thick applications; a medium application will result in smaller cracks. A thicker coat will create larger cracks. A thin application doesn’t work as well because the paint has nothing to crack. Don’t treat the paint like a “regular” acrylic paint-Distress Crackle Paint is self-leveling. If a thicker application is applied, the paint will still level out before it dries and cracks.
4. The optimal way for the paint to crack is to just let it dry and crack on its own. Yes-watching paint dry! If you’re in a rush for the “magic”, once the paint has started to crackle on its own first (this is an IMPORTANT step!) apply cool air, such as from a mini-fan or dry with a Craft Tool from underneath the painted surface.
5. Be sure to completely close the lids on the jars.
6. Once the paint crackles, an option is to highlight the cracks using one of the Distress Ink™ Dye Stamp Pads and the Inkssentials™ Ink Blending Tool. The matching color of the Distress Ink will accent the cracks; a darker color of Distress Ink will tone down the paint color as well as accenting the crackle.
7. Images can be stamped on the crackled surface with Adirondack® Acrylic Paint Dabbers as well as Archival™ Ink Stamp Pads. Many rub-ons can also be applied to the crackles surfaces. Don’t be afraid to experiment.
8. Remember, it’s paint…that cracks.
Now that I have informed you about the theory.. I will just go on and show you what I have made. It is a 8x8 Photo page which I will be framing with my niece's picture.

Here is what I did, I chose some scripted pattern paper (I found this paper pad at a local exhibition) and distressed the edges using ym scissors to give ti a worn look.

Here is the crackled strip.. I used broken china distress crackle paint.. Now you need give a good even coat and let it dry for a while before the cracks start to appear. It looks gorgeous and it feels grainy when touching.
I rounded one side of the corners using the corner rounder.

This is after all the stamping.. I used Kaiser craft stamps Bubble wrap and texture 36. Inks used are Hero arts Pale tomato mid-tone shadow Ink, Memento rich cocoa and archival black.

This is the completed layout... Used the spellbinders floral oval and flowers are made spell binders rose creations and inked using distress stain picked raspberry (Oh I love the color). We have a variety of flower dies in the store which can be used to make some gorgeous blooms. The Brads are from my stash. MS butterfly and bling and I am done.. I wish I had some shimmer to add to it.. It would have turned extra ordinary then... !!
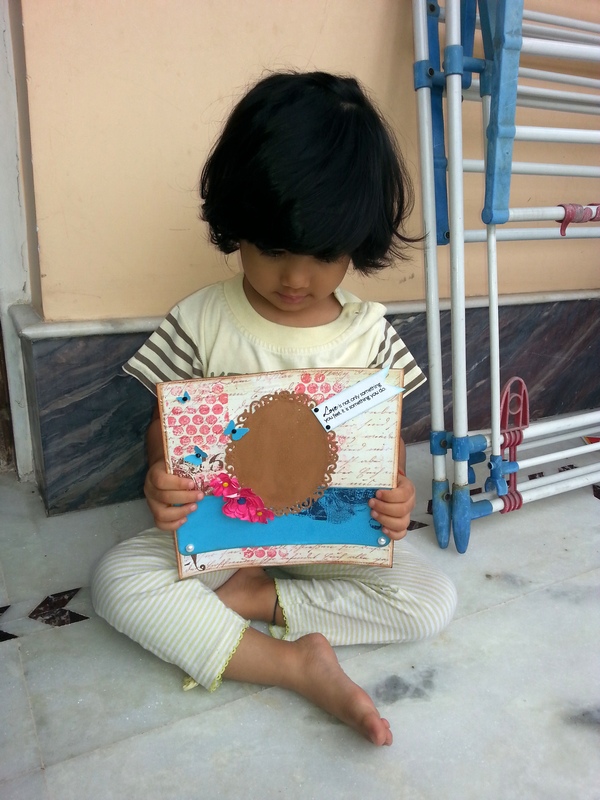
My niece posing with the layout.. She has her eyes on the butterflies...
You still have a couple of days to play along with our nail it with textures challenge. You can check the details here.
Hope you have a good day...
Hugs,
Khush


.jpg)


Lovely layout.
ReplyDeletethats an interesting post , love that pic in the end , veryyy cute :)
ReplyDeleteNice post on Crackle paint Khush..love the various stamps you have used for the LO !!
ReplyDeleteGorgeous layout, I love your model the most..hugs to her!
ReplyDeleteLovely post and a lovlier model!! :)
ReplyDeletelovely LO Khush!!
ReplyDelete