Featured

Saturday 26 April 2014

DIY 3D Wall Art

Hello Friends,

This is Poornima here. Hope you are enjoying inspiration post by our fellow DT members. The theme for this month is "Anything But Cards". I hope you have entered till now. If not, you still have time to do so.

To inspire you little more, I am sharing a tutorial on 3d Wall Art. So let's get started

Materials Required -
MDF or Chipboard pieces of equal sizes
Acrylic Paint
Pattern Paper
Embellishments as per your choice

I have used some left over mdf scraps and some wood pieces from an old photo frame.You can use chipboard or thick cardboard to make the same. Cut down (take carpenter's help) three equal pieces of chipboard. I have chosen the size according to mdf available with me.


Round off the all four edges of all three pieces with sandpaper.


Color the edges with an acrylic paint. This is optional. I did it as I wanted edges to go with the pattern paper. Glue pattern paper it to all the three pieces.


Take 2 pieces of wood or mdf and color them with same acrylic color. These pieces will going to be of lesser width. Place them horizontally and glue three mdf pieces on it at same interval.


Now embellish it using die cuts,stamped images, ribbons, pearls, flowers..etc. whatever goes with your theme.This is my finished 3D Wall Art 


The couple diecut is heat embossed in black. I have applied three layers of black embossing powder and it look so amazing in person. The sentiment is stamped with pigment ink and then I applied clear embossing powder over it. Pigment inks are so apt to get colored embossing if you don't have colored embossing powder.

Supplies Used- 
MFt Eiffel Tower die
Mulberry Flowers

I hope I have inspired you. Do participate in our current challenge. You still have 5 more days to enter. For any queries please do leave a comment.

Till Then, 
Happy Crafting

Saturday 19 April 2014

Altered Clipboard

Good Morning! This is Tanvi sharing with you another project for this month’s challenge theme – Anything but Cards.  To link your projects please visit the challenge post HERE.
For my project I started off with an old clipboard & altered it. Using mod podge I glued pattern paper on the clipboard. 


Using another pattern paper I have provided a pocket to hold tags for birthdays, reminders, paper clips, etc.


The clipboard also holds a post it pad & a mini calender. 
Tie a small pen to the clip & no more looking out for a pen when you need it the most. To match the pen with the colors of the PP I have cover the refill with washi tape.


Have you used the mini misters from the Craft Shop? I love them! Look at the amazing misting effect you can create – 


Some more snap shots of the altered clipboard, plenty of die cuts & embellies used here - 


Am sure all you mommies will love this project, would love to hear from you!

Wednesday 16 April 2014

Mixed media gift box with Handmade Flowers

Hello crafters...
Its super summer time ... And what best the time can be utilized in, other than crafting at home with AC on... ;)  :)  .... Today I will be sharing with you is a super hot technique that mostly crafters are following these days.. Yess.. its Mixed media...
Well I am going to discuss few very simple and easy to perform steps to attain a mixed media look in your projects.. Though mixed media in itself is a world of techniques, but by just performing the following 5-6 steps u get that look...  Here I am in the making of a gift box or a chocolate box made of cardboard..

First step is to apply GESSO generously on the box..
Then  spray colors with any colorant Inks of your choice.. you may go for alchohol Inks, distress inks or the ones I have chosen for my project ie Ranger dylusions inks..  Use water for merging inks...
Our Mini Mister  at Color conceptions online store does wonders when it comes to spraying water...


Next step is to take your favorite Stencils and Modelling paste.. Here I have used Crafter's Workshop templates Bricks, Art is definition... 
You may use a heat gun to dry fast... 


Next Step is to decide embellishments to use , and no mixed media project is complete without more n more textures.. So you may use cheese cloth, corrugated sheets, burlap pieces, Laces etc at places...
Embellish with Flowers, Leaves, Charms , laces ,etc...


And Tadaaa... Here's the finished project... I just love the colors.. these pastels are so soothing for our eyes in this bright summers... Don't forget to apply a very thin damp- dry coat of brush over all flowers and embellishments, eventually.. to give it a distinctive look... 


Well this is not all... 
All the roses are handmade..   And below is a video tutorial on how I made these beauties..
Die cut Sizzix Tattered Floral medium size 5 flowers.. 


Hope you all enjoyed this tutorial, I enjoyed making it.... 
Thanks for stopping by, do share your love n comments..
Now get inspired and join in in our current month challenge - Anything but Card


Decoupage Tutorial with our GD - Anita Kejriwal!!

Hiya Crafters,
        Priya here to introduce our Guest Designer for this month. Since our Challenge this month is Anything but a Card., we should be showing something different. And this art is so popular these days, more and more people want to learn. So we decided to make a tutorial! And when the topic was decided as Decoupage, who else can be a better coach than our fellow crafter 

                                               Anita Kejriwal!!

She has always stolen our hearts with her works - be it cards, scrapbooks, 3D projects, Sospeso or Decoupage!. This lady has immense stock of her talent inventory.They are noticed and appreciated. But there is so much more to be exposed ;). Here she goes with her decoupage pictorial,,

Hello friends

I hope you all are keeping yourself  busy with crafting et al and enjoying the summer heat. Well I'm certainly enjoying myself and here is a post that will prove it.

I'm really happy to do a GD post for my most favourite fellow crafter-Priya Sivaraj ..the owner of the most popular online craft store-The craft shop. This is a store that has grown up in leaps and bounds and now stocks hundreds of products from best brands. Not only that, a plus point about Priya's store is the price factor of the goods that attracts the buyers and above all the impeccable courier service...I vouch for it ,,ITS THE BEST !!! In fact , its so good that at times, I feel she owns a private jet through which she sends our stuff within 24 hours ... lollll.
So here is a tutorial on something that is a favourite amongst many crafters and gives a complete new look to any household item.. You guessed it right... Decoupage

This also matches up to the current challenge at the color conceptions blog--Anything but a Card. So if you still have not played along the challenge, this is the tutorial for you.

Decoupage can be done in many ways using fabric, tissues, paper etc. The  material you work upon can vary from metal, wood, plastic, fabric, leather and glass. So its a very versatile form of art and what I bring before you is very simple decoupage ,,something that can be done in few hours and with most common products.
The craft shop houses all the raw materials needed for  decoupage. So once you go through my post, just hop to the shop and start your D shopping.

Here is my project... So lets begin.


supplies that you need are:

The object for decoupage--I,ve taken a MDF tissue box
Gesso or water based primer paint-available in paint shops
acrylic colours
foam brushes
tissue napkins
decoupage glue or Mod Podge--I've used the latter.
hair dryer or heat gun
sponge
craft mat
rubber stamps of your choice, die cuts, flowers and pearls etc for decoration


step 1

 It is important to prepare your object by painting it with a single or double coat of gesso or primer to seal all the pores and give a smooth look to the surface. You can use a foam brush or any flat brush for this purpose, if the gesso is thick, thin it with a little water. You can leave it to air dry or speed up the drying with a hair dryer or heat gun. If you want a smoother surface, just rub the entire box with a wet sand paper, wipe clean and repeat the process.


Step 2

Now select the tissue napkins according to the design that you want. Here I have coordinated two napkins.

Step 3

Decide how you want to place the design on your tissue box and then cut with the scissors.


Step 4. 

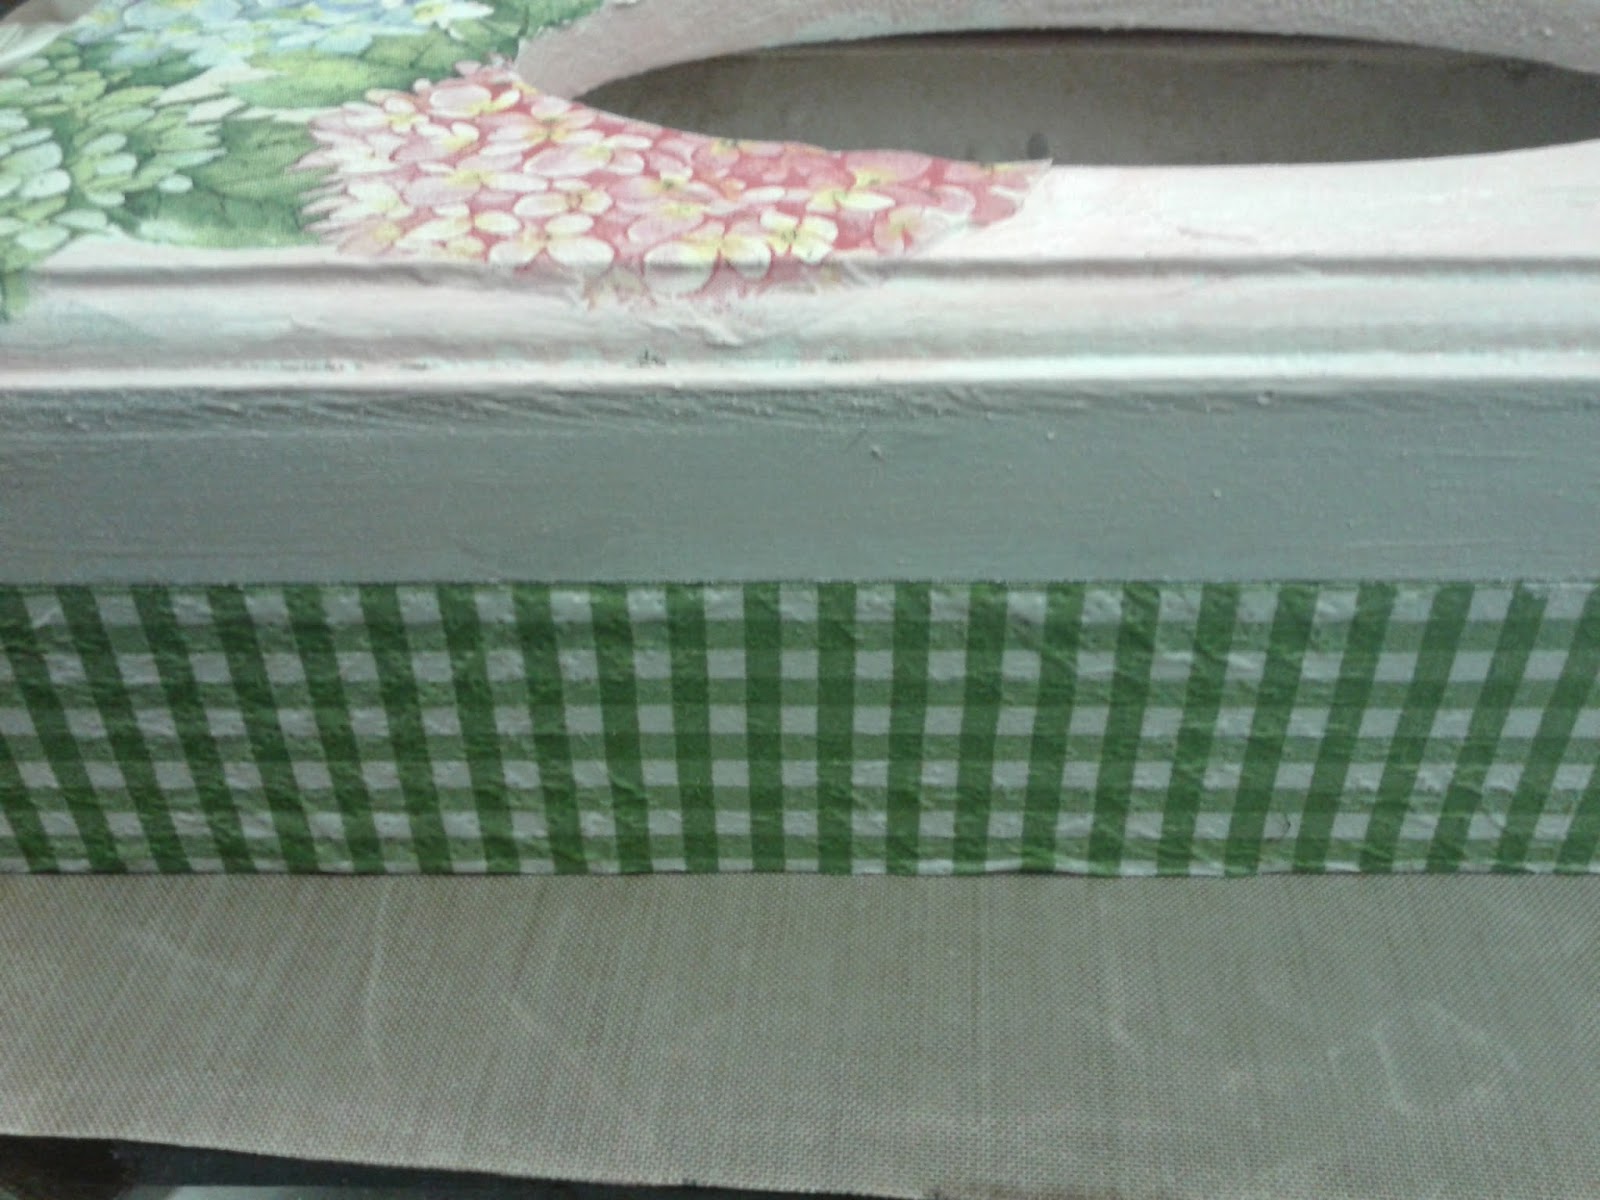
Remove the two ply of the napkin. With a foam brush, apply a smooth coat of mod podge and then dry using the dryer. Place the design and smoothen out the wrinkles by pressing it well with wet sponge. Again dry it. Continue like this till all the cut designs are pasted on the box.


Step-5

Now with acrylic colours, paint the areas that have not been covered with napkin, with the colour matching the napkin design. In this case, I painted the top of the box with very light pink color.


Step 6

Now apply a thin coat of mod podge all over the box once again, all over the tissue also, as Mod Podge acts as a sealant. Dry it well.


 Step 7

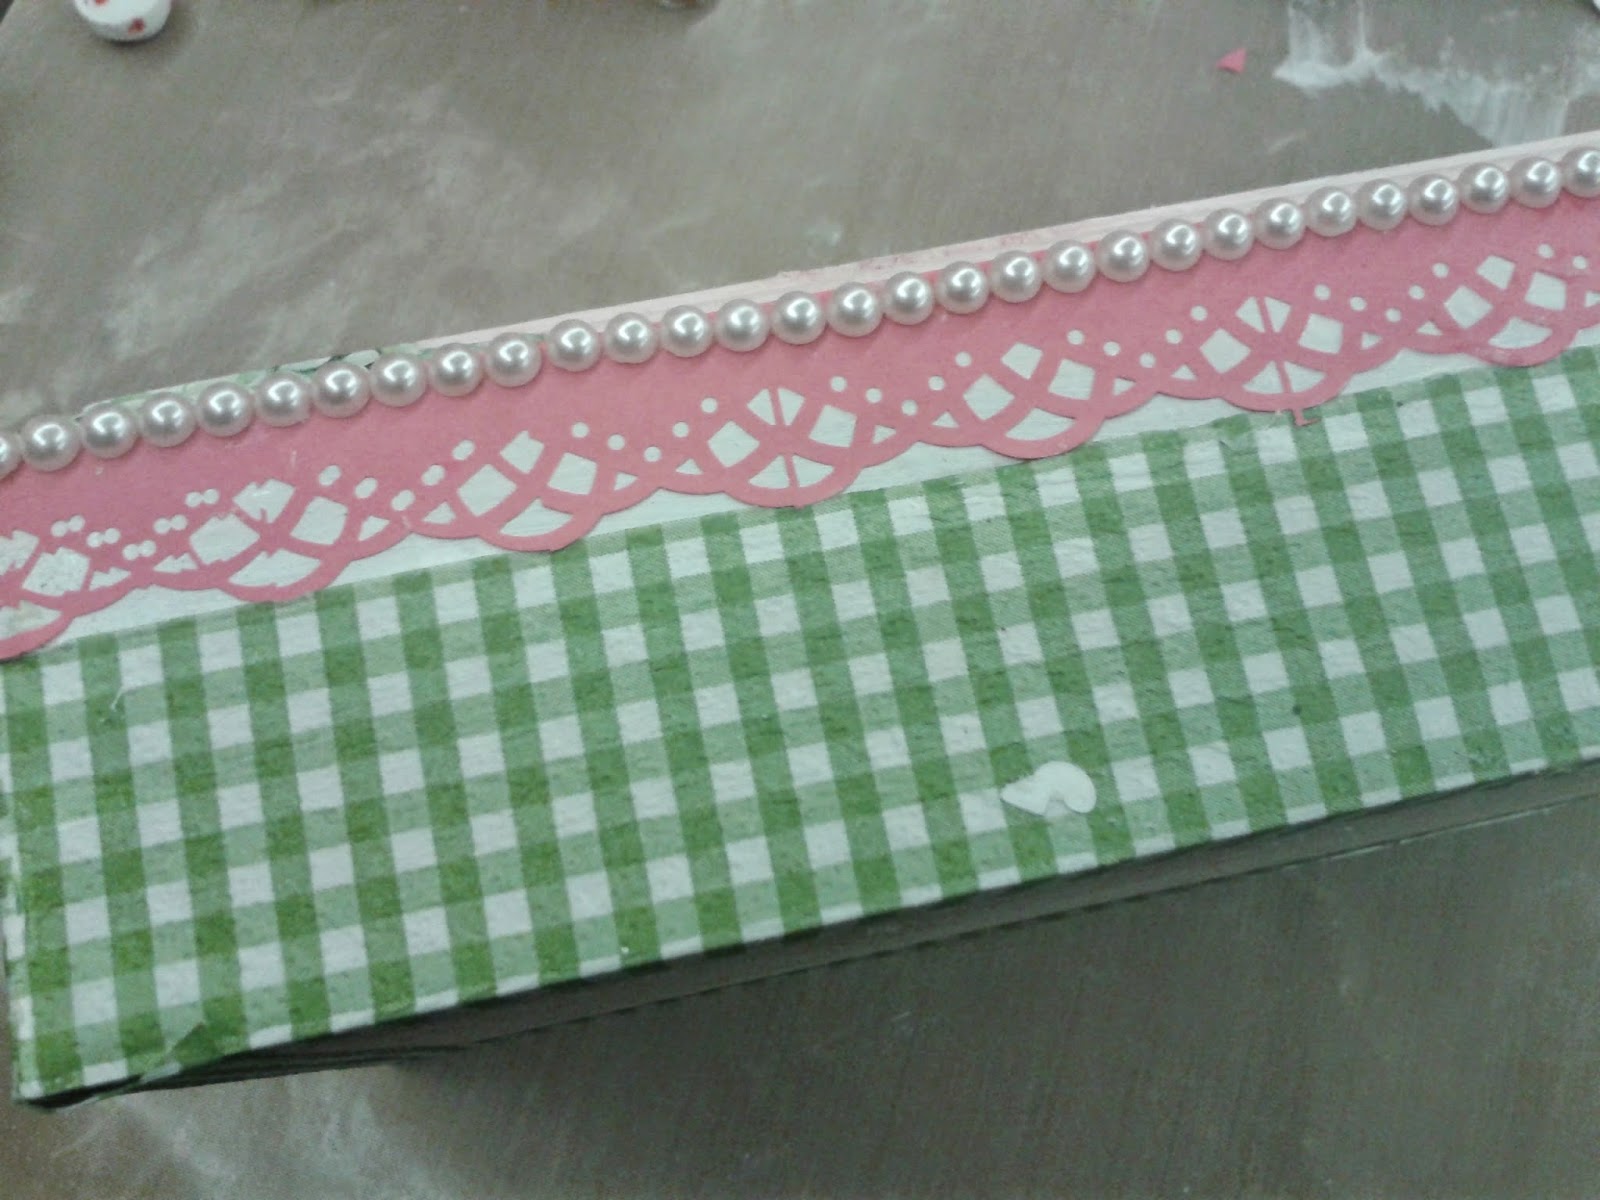
Now you can decorate the box as you please, with die cuts, punched laces, pearls, flowers etc etc.


The complete project looks like this.


I hope, I've explained all the steps clearly. If you feel anything missing or need to know anything, just feel free to ask me at anitakejriwal@hotmail.com. I'm waiting to see what everyones comes up to me. Also, I would like to point out that Decoupage is a long process and this is just a simplified version : something that involves little labour but gives great results.
Do leave your comments. Thanks a lot for the love and appreciation you all keep showering upon me. Stay tuned with craftingforever-anita.blogspot.in.

Till then...HAPPY CRAFTING.

Thank you so much for the store complement Anita! We are glad, we could serve you all!!

Many Many thanks for being our GD this month! You project as usual is an eye candy :)

So ppl, wat r u waiting for? You can enter anything in the challenge, other than cards.Do participate.

Thanks for stopping by!
Priya

Friday 11 April 2014

Winners Winners !!

Hello everyone !!
Wish you all a very happy weekend... I am here to announce the winners of the challenge # Glam with Glitter
So without much a do,  the top three in no particular order...

Loved your  beautiful stencil n your way of using glitter.. 

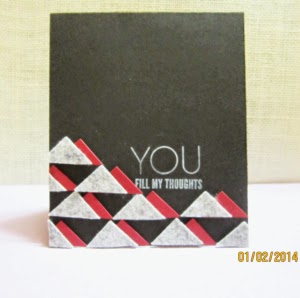
The triangle front of the card is so adorable ans so is the glitter on top of it..

Your CAS cards won our hearts... The glitter splashes were adorable... 

Congrats Girls !! Please collect your top three badges from our blog...
And now is the turn to announce the winner...
and the winner for Glam With Glitter is....

  # POOJA
The guitar and the glitter on it was heart stealer...You have a gift voucher worth Rs 500/- from our store..   Please mail at  priyacrafty@gmail.com to claim your prize. 

Don't forget to participate in this month's challege which is Anything but cards.. Good Luck !!

Saturday 5 April 2014

Creating Miniatures

Hello friends,

I hope you are enjoying our new challenge : Anything But Cards.
The results for our February challenge Glam with Glitter will be announced soon  :)

Have you ever tried making miniatures...  like miniature books, posters, iPhone, etc...
They are super fun to make & sometimes a bit brainstorming and a lot of trial & error is needed to create that perfect little, cute miniature... 
I am a bit of perfectionist when it comes to art & craft... so I tend to discard all the pieces that I don't look perfect to me..
So I amhere to share a few of the miniatures that I have made recently.... I don't have the WIP pix but I will try to explain the process...
Lets start with the easiest one... In the above pic I have made miniature movie posters... 
These are very simple.. just open google, search & save the movie poster that you like, open it in any image editing software, resize it, print it on good quality heavy weight cardstock & trim it around the edges...
Now you can leave it at that or go a step further to create the shine..
To achieve the glossy finish you can either use a photo paper to print the image or  heat emboss it.
To heat emboss simply take any watermark ink like Versamark & cover the whole image with it , pour some clear embossing powder on top, shake off the excess & melt the powder with your heat tool ( work quickly here or the image can bleed). 
I have made the book covers here in the same way.. & adhered them to small white paper boxes to look like books
 Now this one is a little complicated if you don't know photoshop or some similar software... I searched some iPhone icons & background on google & then designed this iPhone in photoshop. To add a little more detail I modified the calendar icon to show the date & day of the recipient's birthday. Rest of the process is similar to making the movie poster.

In the above picture I have made a miniature camera from scratch... When I was asked to add a camera to this explosion box I had no idea what I should do...I just  said I will figure something out...
At first I was a bit confused & asked few friends for suggestions... I had no camera die, the die that was available for camera was either too big or too small, the camera charm that I had was way to small & same was the case with other embellishments that I found online... So at last I decided to make it myself from cardstock... & I am glad that I did... The requirement was also for a 3D camera not a flat cut out or printout.... So I added 5 layers to create it... I drew all the 3 base layers by hand & cut it with scissors... Next I die cut one circle & one ring with the smallest circle dies that I had to make the lens... Then I took my versamark ink & black embossing powder & heat embossed all of my pieces.... For the textured layer I melted the powder & quickly flipped it down om my textured silicon mat... I let it cool down before removing... & I had my texture  :)
The last thing I did was assembling all the layers on top of each other using black foam tape & adding a piece of black satin ribbon at the back as the camera strap..

So these are a few tips to make miniatures... Miniatures look adorable & the tiny details add to their realistic look... So look around, observe & find new & innovative ways to create life like miniatures from the tools & materials that you already have...
I hope you enjoyed my methods to make miniatures... 
Thank you for sticking till the end of such a lengthy post... see you soon...

Supplies Used:


Tuesday 1 April 2014

Winners of Trendy Chevrons/ Triangles

Sorry folks

     This post is way too late. thanks to me but now without much ado lets lend a clap to the winners !!!!


TOP # 3 in random order ....

Sathya with her classy card inspired by the colours....


Jovita with a beautiful multifold card again inspired by the colours....


Vithya with her beautiful interpretation in a very simple way!!!


Congratulations!!!!
Please collect your Top 3 badges from the blog.

And finally the random winner is 
No.1 Shruti Goel Shruti Goel - she wins a gift voucher worth Rs.500 from the store. Please mail priyacrafty@gmail.com to claim your prize.

Challenge #10 - Anything But Cards

Hello Friends...

Thank you for playing along with us in our last challenge Glam With Glitter... & we hope you will join us for our new challenge :

Challenge # 10 : Anything But Cards

You can make layouts, photo frames, boxes, calendars, bookmarks....  anything  except cards...
My fellow DTs have created some beautiful projects for this new challenge... Let's have a look :

Charu has created this lovely canvas layout with lots of layering


Poornima has created this bright floral door hanger... I love the blooms... so bright & beautiful...
she has used :
Prima Fairy Rhymes Paper
KaiserKraft Stamp
Spellbinders Carnation Creation Die
Cherry Lynn Sunflower Die
Spellbinders Foliage Die
Ranger's White Embossing Powder
Broken China ,Vintage Photo and Fired Brick Distress Inks
Color Box Black Archival Ink


Tanvi has created a set of coordinating bookmarks, magnetic calender & notepad... I love the faux stitching... this little detail adds that extra oomph...

Rajni aunty has created a set of money envelopes... Her creations are always a treat & such an inspiration... She has used shades of distress inks, heat embossing powder, Versamark fine ink, ranger heating tool & PTI simple sunflower stamp.


Pratiksha has created a beautiful shabby chic altered clock.


Finally its my turn to share ... I have created a cylindrical box using dies from Spellbinders, Marianne & Joy craft, Distress inks & Just rite stamps

I hope we have inspired you to create & participate in our April Challenge  :)
Stay tuned for more DT inspirations, tips & tutorials throughout the month...

Happy Crafting... See you soon...  :)
To participate, please follow these simple rules - 
  • Follow our challenge blog.
  • Link only fresh entries. No back dated entries are eligible.
  • Link your blog post to our challenge post.
  • You can participate in a maximum of 5 challenges including ours.
  • Maximum three entries per person, please add 2 or 3 to your second & third entries.
  • Remove word verification to help our DTs leave a comment easily.


The TOP 3 will receive a Winners Badge & one random winner will receive a GIFT VOUCHER worth Rs.500 from THE CRAFT SHOP - has a complete range of all your craft supplies. For any query regardsing any craft supply you can contact Priya Sivaraj at
 priyacrafty@gmail.com.


Copyright © 2015 The Craft Shop
| Distributed By Gooyaabi Templates