Featured

Sunday 25 May 2014

Dry embossing using kitchen foil

Hello lovely ladies...

Rajni,here from Passionately Curious. Today, I'm here after a short break. Hope you all enjoyed playing along our challenges and discount sales going on the Craft Shop. 

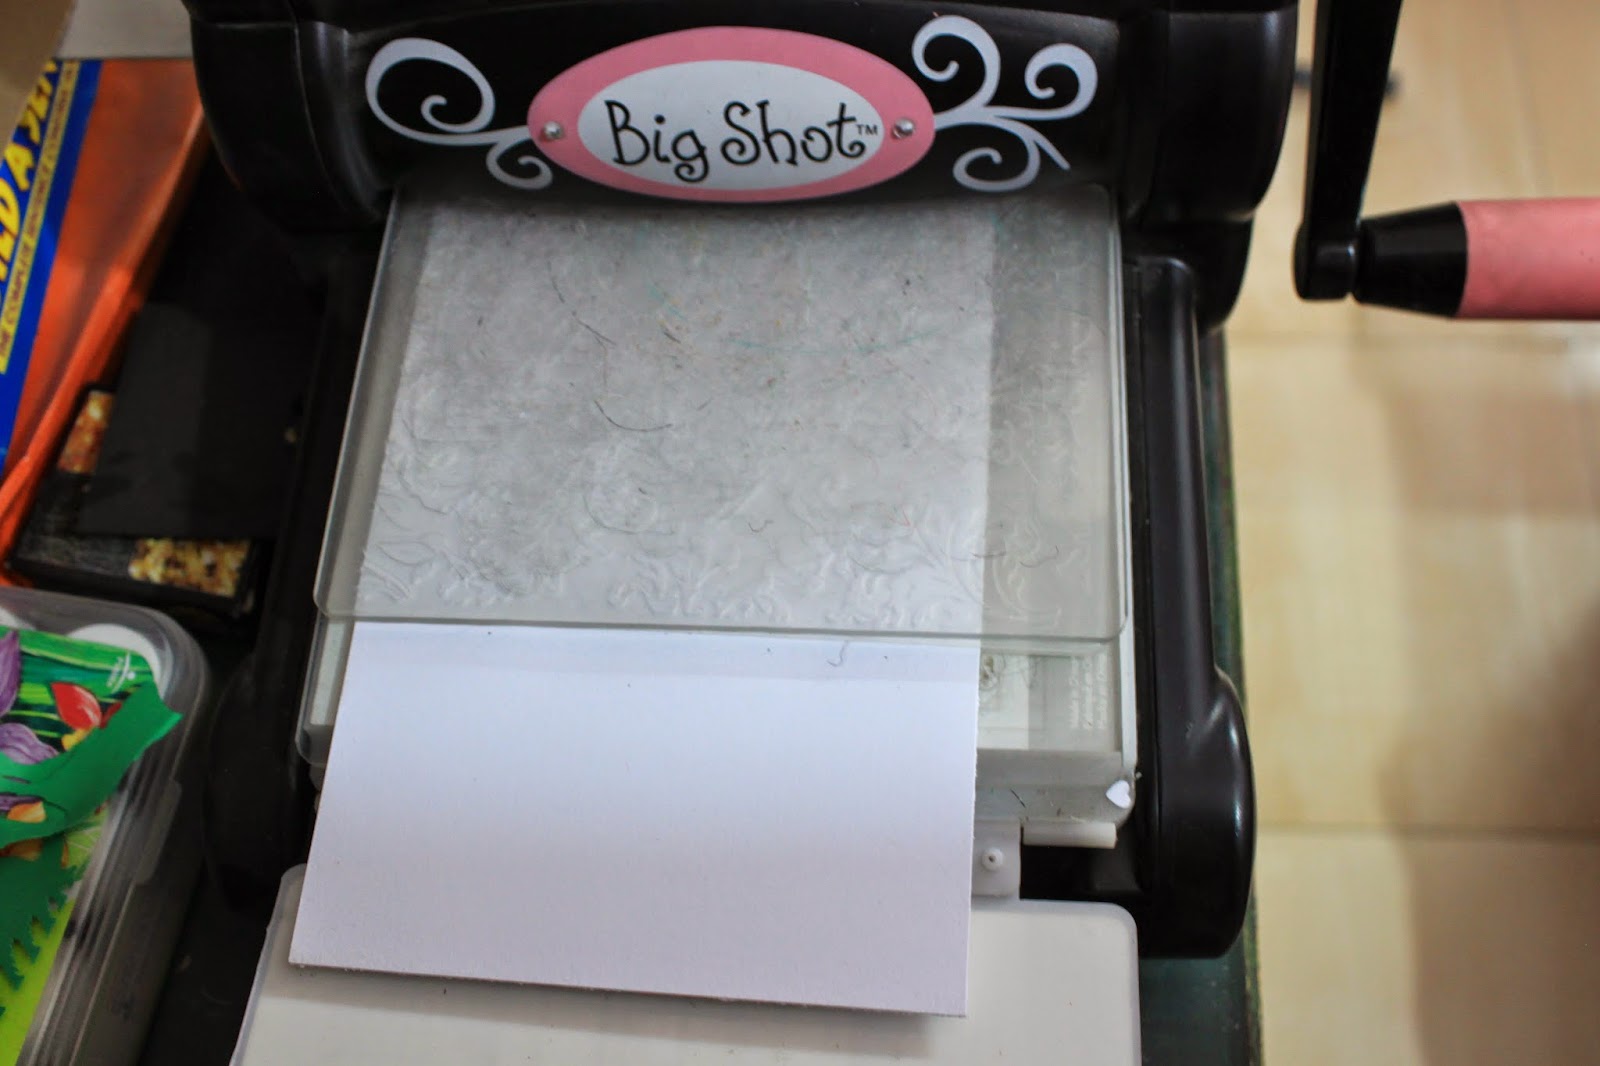
Our current challenge demands wet or dry embossing on your projects. Today I'm here to inspire you all with dry embossing using various embossing folders with kitchen foil.
Yessss....you heard it correctly.....I'm talking about regular kitchen foil only. You can also use various craft foils but I preferred using the same as it was already with me.  As kitchen foil is non porous, I have used alcohol inks to give different tones. Few crafters says alcohol inks are difficult to handle. But I must say everything is difficult when we try for the first time, It took more then 1 hour when I started with my first piece but with second,third and fourth it became so easier and hardly took half the time i spent in making first base.

Here are few video to show you how you can emboss and how to use alcohol inks.  


I was so amazed with the first out cum that I kept on trying more.....just got addicted working with the same technique. Addiction of anything is bad....but for me addiction to any craft technique is like breathing.  
And look what I came up with my so called addiction :P


Do u believe these gorgeous pieces are nothing but the regular kitchen foil.
Aren't 
they pretty ??


Small tips to be taken care of while working with foil

1. Try to use thick kitchen foil and fold it 3-4 times to make it more steadier. 
2.  I also prefer giving a layer of glue in between all the layers.
3.  Always take extra margin of foil  as you might damage the corners while working with alcohol inks.


Last days I was practicing coloring with distress inks All that went so perfect with my cards. Simple layering, a die cut frame, distress ink colored flowers, butterflies and a sentiment. Here are the cards that I assembled with these beautiful pieces.


Hope,I have inspired you all that what stunning effects you can achieve with regular kitchen foil and dry embossing.
So,don't you want to try your hands on these beauties?? Just take out little time and dig out what all embossing folders you have in your stash. Create one and do play along our current challenge dry/wet embossing.
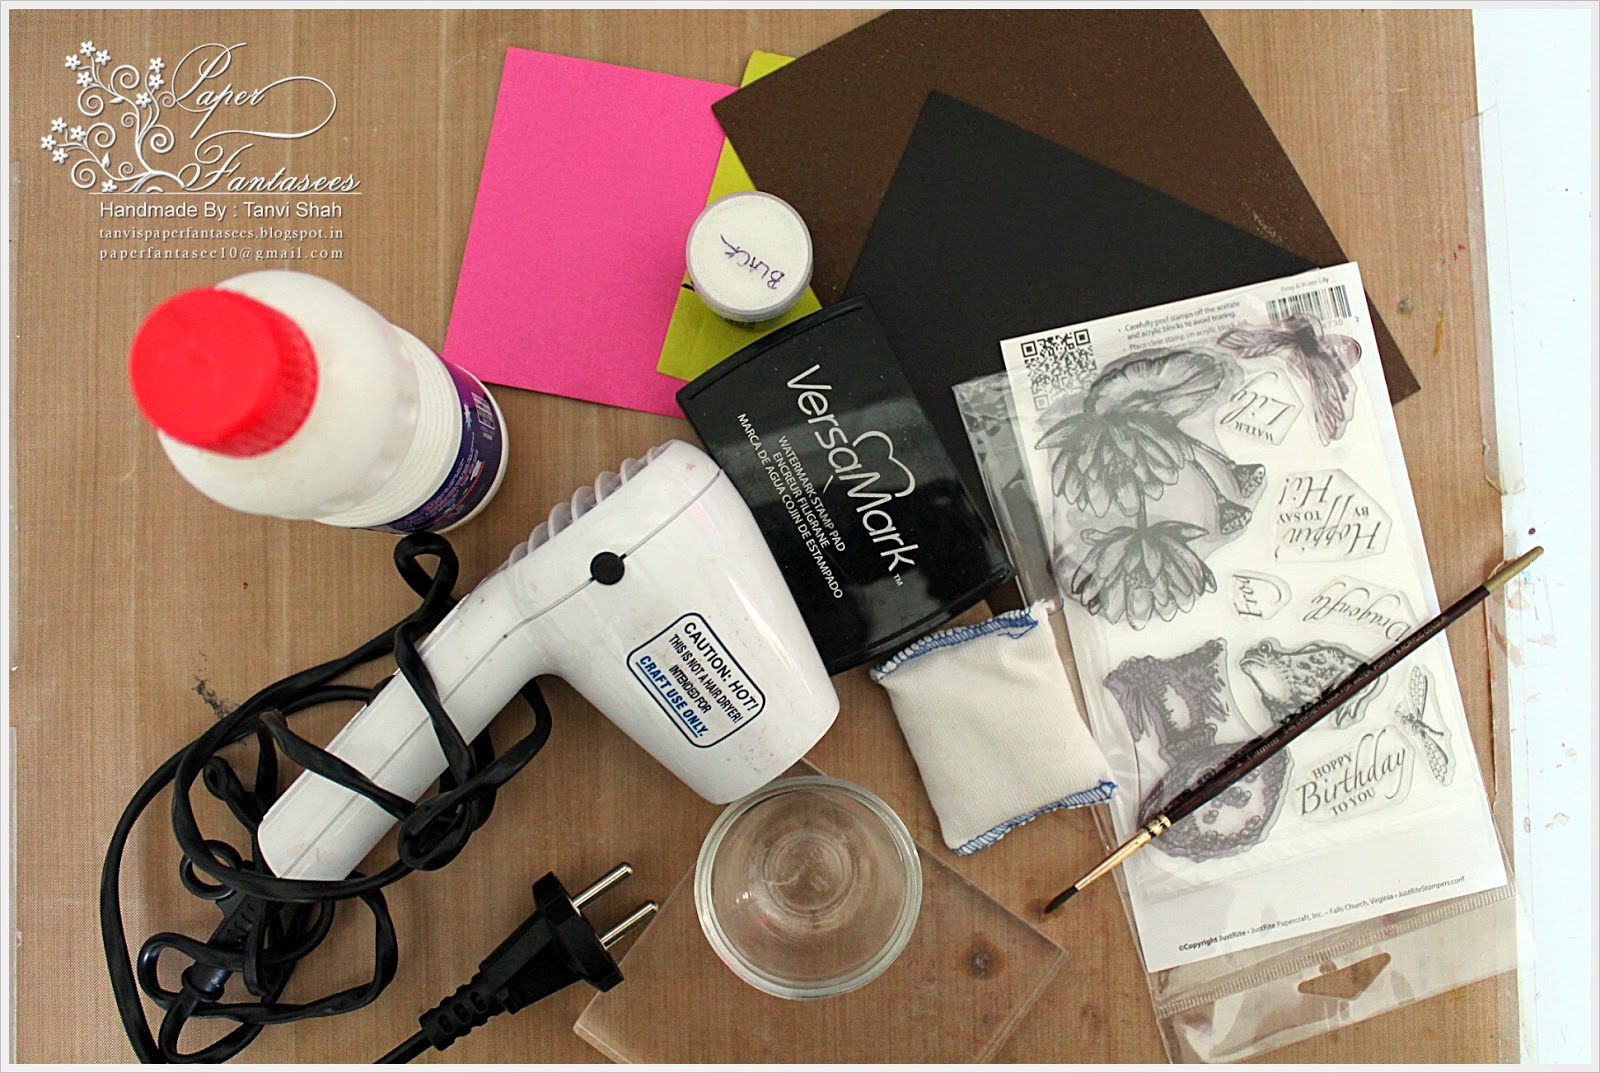


SUPPLIES USED
Spellbinders 3d M-bossabilities --E3D-018
 Spellbinders 3d M-bossabilities--E3d-009 Spellbinders 3d M-bossabilities--E3Ds-001Alcohol inks
Black Penny- bouquets
Black Penny-from the heart
IO stamp-HI 2004
JustRite Butterfly Kisses
Spellbinders heirloom flourish one die
Spellbinders Nestabilities Die, Floral Ovals


Thanks for  stopping by..

((Hugs))


Friday 23 May 2014

Coloring Vellum

Hello Friends,

How you all doing? Our current challenge is all about embossing -Wet or Dry. Hope you have enjoyed our DT inspiration posts. To inspire you a little more I am sharing a easy tutorial on coloring vellum. Vellum can add interesting and effective embellishments in your projects. I love to heat emboss vellum specially in white.And vellum was the major reason for me to buy heat embossing supplies a year back. Try to add embossed vellum in your projects and believe me, you will too love it. Ok lets head over to tutorial.

Materials Required -

  1. Inkpads - You can choose any ink - dye, distress or pigment. For my tutorial I am using pigment inks. Since pigment inks take a longer time to dry, you can remove excess ink. Take at least two shades of a color to add tone to image
  2. Ear buds - Ear buds will help you to apply and blend ink in smaller areas which cannot be done with daubers or ink blending tools. So buds will work like brushes.
  3. Heat embossed vellum
  4. Tissue -  to remove excess ink or ink over embossed lines
There are basically two ways of coloring vellum - one from front side and another from backside. I will be showing both methods.

Method 1: Coloring vellum from embossed (front) side.
This method is used when intense colors are required on vellum.
1. Heat emboss your image on vellum.
2. Take earbud and apply a light shade on vellum flower.


3. Apply second layer of color. If you go over embossed lines, remove it with tissue.


4. Take darker color ink and apply in center or at areas where you want darker tone.


Method 2: Coloring vellum from back side.
In this method you can use sponge daubers if you want single color flower. I am using cotton bud. Process is same but it gives soft, diffused flower. Here are step by step pictures -


I have also tried coloring with distress inks. Applied again with cotton buds. Here's a sample -


Some more- 

And this a card I have made using above flowers n leaves-


Supplies Used
Distress Inks - mowed lawn, shabby shutters, worn lipstick, spiced marmalade, fired brick
Rangers Heat Gun

I hope you like this tutorial. We would love to hear your feedback. Feel free to ask your queries, we will get back to you. And if you haven't entered yet, hurry up, only few days left before challenge closes.

Till Then
Happy Crafting !!
Poornima

Wednesday 21 May 2014

Double embossing and heat embossing on vellum

Hello everyone !!
This is Charu Joshi, from Crafted Creations ...
Today I will show you how to double emboss a cardstock using two embossing folders... It may also be called dry partial embossing in die cutting machine..
Normally when you dry emboss a piece of cardstock, you put the cardstock in an embossing folder and run the sandwitch within the plates throungh a diecutting machine...
But, when u have to double emboss the same piece of cardstock then you need to follow the following steps....


To make a finished card of 5" by 7" , I have taken this white card stock 4 3/4"  by 6 3/4"
Put the cardstock in the embossing folder, on one plate.. Now to complete the sandwitch, dont put the second plate on top... Instead, use a chipboard or three layers of cardstock or a piece of embossing pad on the desired length where you want your embossed design to occur..


Run it through machine and you get a partially embossed design.. Like this...


Now do the same steps for getting a different embossed design on the rest of the card stock...


Now we will do heat embossing on vellum..


Stamp the butterflies on vellum with versamark embossing ink and put white embossing powder on it.. Remove the extra powder and heat set it using a heat gun..
Now reverse the heat embossed butterfly and color it using Distress Ink and applicator..
I colored one butterfly in worn lipstick, and othe in peacock feathers..


Now fussy cut the butterflies...


Embellish this on the card.. I made this beautiful CAS card using the above two techniques..


Hope you too will try these techniques and dont forget to participate in our this month's challenge
Embossing -- Dry and Wet
 
Thank you for stopping by !!!


Winners of Anything But Card Challenge


Hello friends...

We had a lot of amazing entries for the April Challenge #10 Anything But Cards..
A big Thank You to everyone who participated...

Now its time to announce the Winners, Honorable mentions & Top 3....

Honorable Mentions:

Indira Tanwar for her beautiful Wall Hanging
Mansi Gupta Sharma for her pretty Gift Box

Riti Poddar for her beautiful Gift Bag & Matching Card


The Top 3 in no particular order are:

Riti Poddar with her stunning Peacock Art Journal Page


Bipasha with her Shabby Chic Explosion Hut with so many lovely details


Pallavi Iyer with her pretty Altered Bird House


Congratulations Girls... Please collect your top 3 badges from our blog...

And now the random winner for a Rs.500 gift voucher from the store is Remya ramachandran

 Please mail priyacrafty@gmail.com to claim your prize.


Monday 12 May 2014

Coloring with Bleach - A Tutorial

Good Afternoon lovely ladies! 
This is Tanvi here to share a very simple bleaching technique that can be done after heat embossing a image.  I am sure many of you would have already seen or tried this earlier but for me this was a first attempt & I loved the effect. So sharing a small pictorial with you all.
These are the supplies you will need for this - card stock (darker colors give better results), embossing powder (clear/white/black), stamp, embossing buddy, versmark ink, heat tool, bowl, applicator brush, fabric bleach (I have used Rin fabric bleach. Please make sure you use fresh bleach for best results ).


Heat emboss the image.

Pour a small amount of bleach in the bowl from the bottle.
Apply bleach using a paintbrush to the portion of the embossed image you want. It is magic to see the color change almost immediately!
Continue to add bleach until the entire image is bleached out.


Here are the final images. 


Each color & card type will give varying results. By bleaching we are actually taking away color from the image. See how it reacts with a fuchsia CS. 


Let dry & your image is ready. Use it to make a card, a tag, a bookmark anything you want. 
Here is a completed card in which I have used brown cardstock.


Thanks for stopping by today & please do drop by again as my team shares some more embossing techniques to inspire you to join our current challenge -  Challenge#11-Dry / Wet Embossing


Thursday 1 May 2014

Challenge #11-Dry / Wet Embossing

Hello Friends,

This is Poornima, hosting this month's challenge. You all know your favourite craft store "The Craft Shop" has completed one fabulous year and you all must have enjoyed the discounts and sale. Thank you for your support and love.
Ok on to the current challenge. This month's theme is

Dry / Wet Embossing

We are asking you to incorporate embossing in your projects or cards. You can either use dry or wet embossing or both.You can apply any technique.We just want to see best out of you. For your inspiration, here are DT's fabulous creations 

Nupur has dry embossed half part of her card. Oh I love the crisp embossing and and image coloring is so lovely.

Tanvi has created this stunning card with heat embossed image in black The image looks fabulous.Tanvi will be revealing secret behind it. So wait and keep an eye on this space.

Charu has used both embossing to create this lovely card. The background is dry embossed and the images on vertical panel are heat embossed. What a nice combo of both types of embossing.

Supplies:

Rajni's card - coming soon

And finally this is my card. I have dry embossed it and followed a simple technique of stamping onto the embossing folder.


Supplies:
Distress inks - Walnut Stain & Mowed Lawn
Tim Holtz Urban Grunge Stamp


To participate, please follow these simple rules - 

  1. Follow our challenge blog.
  2. Link only fresh entries.No backdated entries are eligible.
  3. Link your blog post to our challenge post.
  4. You can participate in a maximum of 5 challenges including ours.
  5. Maximum three entries per person, please add 2 or 3 to your second & third entries.
  6. Remove word verification to help our DTs leave a comment easily.


The TOP 3 will receive a Winners Badge & one random winner will receive a GIFT VOUCHER worth Rs.500 from THE CRAFT SHOP.  For any query regarding any craft supply contact Priya Sivaraj at priyacrafty@gmail.com.


Copyright © 2015 The Craft Shop
| Distributed By Gooyaabi Templates