Featured
Showing posts with label Background stamps. Show all posts

Thursday, 26 December 2013

Creating Faux Tile Patterns with Stamping

OLA everyone !!

Season's Greetings to all the followers. This is Charu Joshi, sharing my thoughts on some beautiful stamping techniques used for creating various Faux Tile Patterns .. This probably could be the last post on Color Coceptions for this year, and we meet in 2014. So my heartiest wishes and warm greetings for New Year 2014. May the coming year brings more happiness and success to all of us.
 
As the theme of this month was "Stamping Techniques"  I am now sure that till now all of you have enhanced and learnt many new techniques of stamping..  :P  Thanks to Priya..  :)

Today, I will share the technique of creating various Faux Tile Patterns with stamping.
 
So the First one looks like this:


To get this style, first take a 6" by 6" card stock, and put it diagonally on the score board, so that both corners are at 6" score line....  

Then scored at 6" and then + 1and 1/2" & -1and 1/2" from 6" score line.. (ie: 7 1/2", 9" & 4 1/2", 3")
Did you notice , I'm using the back side of bone folder to get deeper grooves.. See pic below:
 
Now rotate at 90deg and do the same.. You get a beautiful argile or symmetrical tile pattern. Pic below..


Now take a scrap piece of card stock and score it also at a distance of 1 1/2 " and cut at bottom to get a masking tile pattern.
 
Now keeping your masking card stock piece on the main card stock, use distress ink to create the shadow and enhance the tile pattern.. see below pictures..


Now stamp the back ground stamp on this pattern. You can see the grooves remain clear and the scored lines remain clear off the stamp..
 
 
Then, thereafter I stamped another kaisercraft floral image, colored and glossy accented.

 
Assemble all and adhere to make a beautiful card.

 
The finished card..  :) Looks like its made of Pink Tiles.  :P  :)


Second variation to this looks like a brick wall:
 
 
To get this pattern, First stamp the background image, color it..
 
 
Cut the image into horizontal strips of equal width..
 
 
And then cut into brick style verticle cuts..
 
Now using distress ink (vintage photo) distress the edges of each block.. I know its tideous but looks very pretty. Just like the below pic..
 
Wow !! I love this graffiti wall look on my card..  :)
 
 
 Third variation could be obtained by, stamping  and coloring the background image and cutting it into small tiles.. Now while adhering it, leave a 1-2mm gap in between the pieces..


There are many more variations that can be done and some really nice patterns can be obtained. One tip for example: Applying glossy accents on each tile will give a more real tile like look and the stamped image too looks brilliant with in-depth beauty.
 
Hope this post was useful and you all enjoyed going through it.
Don't forget to participate in this month's challenge Stamping Technique, you still have some time. All the best and happy crafting !!  :)


Saturday, 7 December 2013

STAMPING ON CANDLES

This is Tanvi wishing all a very HAPPY Sunday Morning!
Hope you all enjoyed the celebration quiz on our blog......................winners to be announced soon so make sure to drop by again!!

This months' challenge set by Priya is all about Stamping Techniques. 
Today is my turn to share & I have a pictorial to show how to use simple stamping techniques to create unique stamped candles. Yes you read it right stamping on candles!! Difficult though it may sound its very easy peasy & definitely worth a try. 

First & foremost of course gather your supplies - candle, stamp pads, stamps of your choice, tissue paper, wax paper, acrylic blocks & a heat tool. I have also done heat embossing so this will also require - embossing powder, versamark ink pad.


I have heat embossed the fairy (HOTP - Fairy) with Lindys Stamp Gang - candy cane red gold & stamped the  musical notes (HOTP - Just a note) on tissue paper with archival ink.


Once the images are stamped carefully cut off the extra tissue as close to the image as possible.


After positioning it on the candle & clicking the pic, I realized I needed to cut a bit more! While this may not seem significant it is very important to get a neat finish to the candle.

Next wrap the wax paper around the candle making sure there are no wrinkles & hold it back tightly. I have used grease proof paper that I use in baking & it does the job too!  

Then go over the image with the heat gun just as we do to melt the embossing powder. Keep the gun moving  over as the image glistens,  else you will end with a molten disfigured candle!! The wax paper not only holds the image in place but the wax in the paper melts into the images from the top, sealing the edges of the tissue paper into the candle. Gently peel the wax paper off before the wax cools and hardens.


There is the image neatly embedded into the candle & I really love the shimmering effect of the embossing powder.


I repeated the same steps with the musical notes images, using a  fresh wax paper for each image. It is easier to work with one image at a time, this way you can position the images as desired.


Embellish the stamped candle as desired or don't embellish at all!!! 


The candle is now ready to be used. Of course make sure to remove the embellishments before you light it!!

Here are some more I had stamped sometime back..................


Some variations you can try - 


  1. *The rubber stamped images can be colored first with marker pens,copics, chalks, inks and paints.
  2. *Glitter embossing.
  3. *Stamp images in different colors
  4. *Use Colored tissue paper or with subtle designs .
  5. *Color the candle with alcohol inks first, as in the last image.


    Now that you have seen the tutorial, give it a try & have fun playing with your stamps & ink pads with endless possibilities to make unique gifts for all occasions.

    Thats all for today & if you like this idea do leave some love. 
    Have a crafty week!!


    Sunday, 16 June 2013

    Creating Backgrounds with Stencils

    Hello everyone,

    I hope all of you are enjoying the first challenge and of course at the same time learning a lot with the things the DT team is sharing about different products and different techniques...

    Today am here with a few techniques to create backgrounds with Stencils for your cards, scrapbooks or this could help you with your mixed media projects too!

    There was a time when the only thing I knew for making a card or scrapbooking base was a piece of Cardstock on which a Pattern Paper was stuck and then you embellish it. Slowly I was introduced to the wonders of stamping and then mists and sprays came into existence and slowly and steadily many new products have been introduced in the time which give us a lot more options now to create our own background as per our style and theme of the project. Innovation with these products depends on how much you like to experiment...however am going to show you and talk to you about a few techniques with Stencils like The Crafters Workshop, Prima or any local brand too!

    The traditional way of using a stencil would be to trace the outline and then color the insides or paint the insides directly with the help of a dauber or brush but with the introduction of inks and mists we have learnt many more styles...

    A few things that I love using while working with Stencils...


    Lets get a closer look at the items....


    1. Stencils and Paint Brushes


    2. Dylusions or any other mists and Texture White or Modelling Paste

    3. Memento Fireworks is another mist one can use


    4. My favourite Studio Multi Medium Gloss


    5. A few background stamps to give layers


    6. Palette or Spatula

    Now with the ingredients in place lets see what all can one do with stencils....

    One can go with the simple process of using stencils and distress inks or misting ....


    This process can be done with any ink or chalks too...

    A simple blunder of mine from which you can learn is ...never use a textured Cardstock as the distressing and blending appears in patches.


    The next one is with misting..


    I wanted a slight shimmer so I used the Memento Fireworks Spray ...one can use dylusions or any other mists in the above process.

    The third process involves Texture White or one can use Modelling paste...both differ in their consistency....and depending on the end effect one wants one can select which one of the paste to go ahead with. I have used Texture White.


    Stamp a background to give a layered look


    Place the stencil above as you want


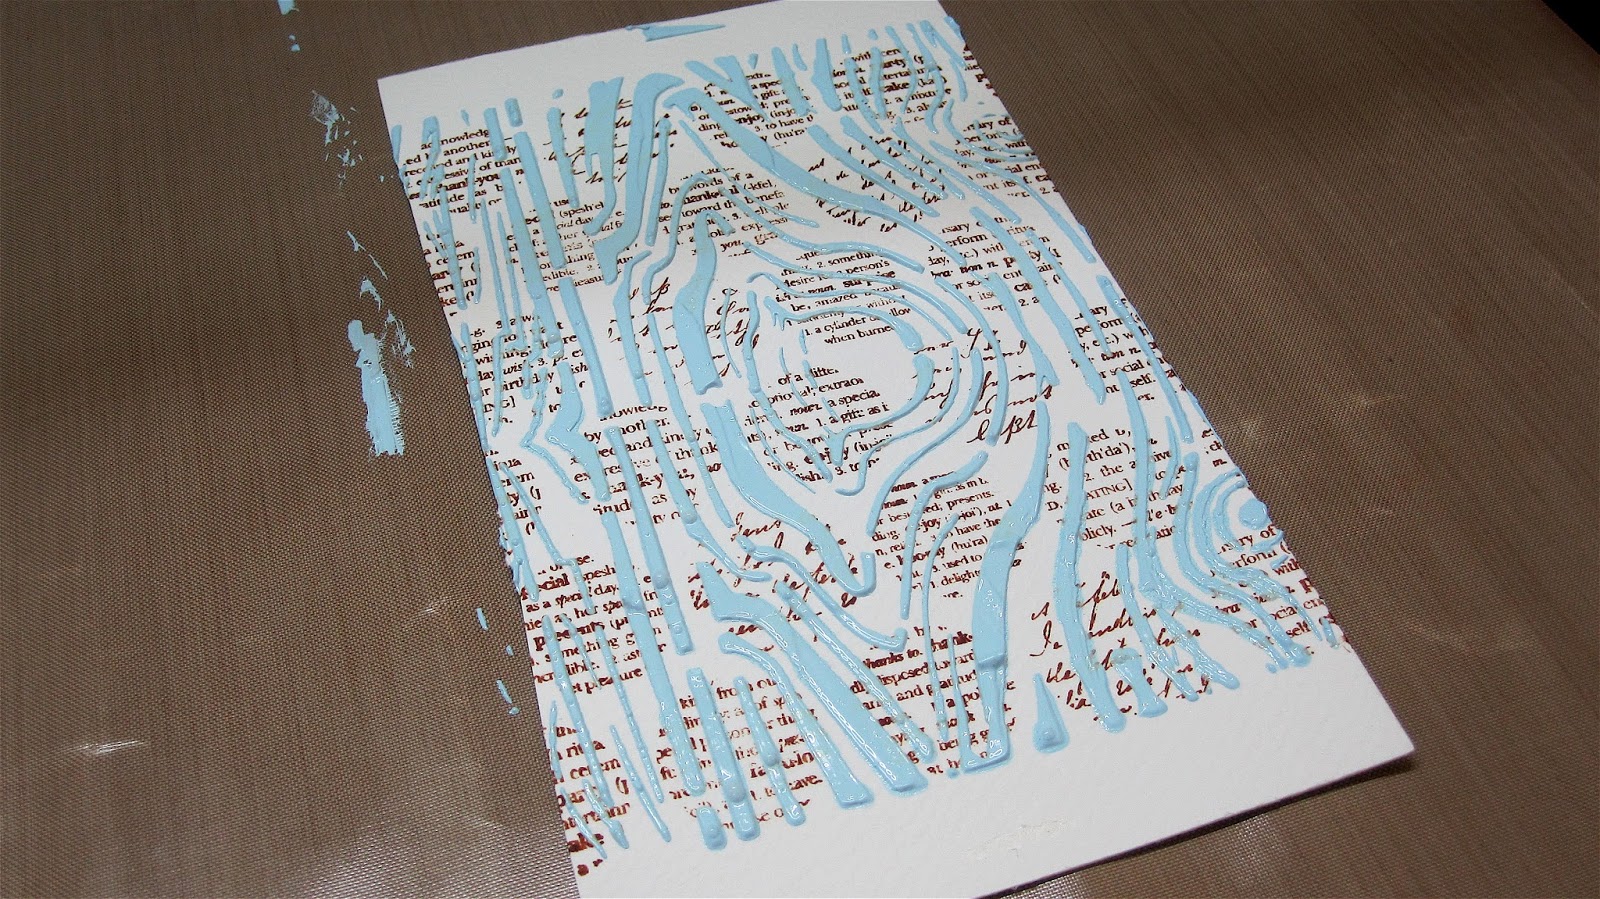
    Take out a little texture white on a plate and mix it with acrylic paints...you could apply the texture white without the color also and paint over it after it dries once the stencil is removed...


    Evenly spread the mix with a spatula


    After you feel you have covered the area entirely to get the desired effect....stop and with a careful and light hand remove the stencil...


    Here is what you will get...and you are ready to add this piece in your card...or do the same process directly on your scrapbook or mixed media projects...


    A closer look

    Now am showing you my favourite technique of stencil use...


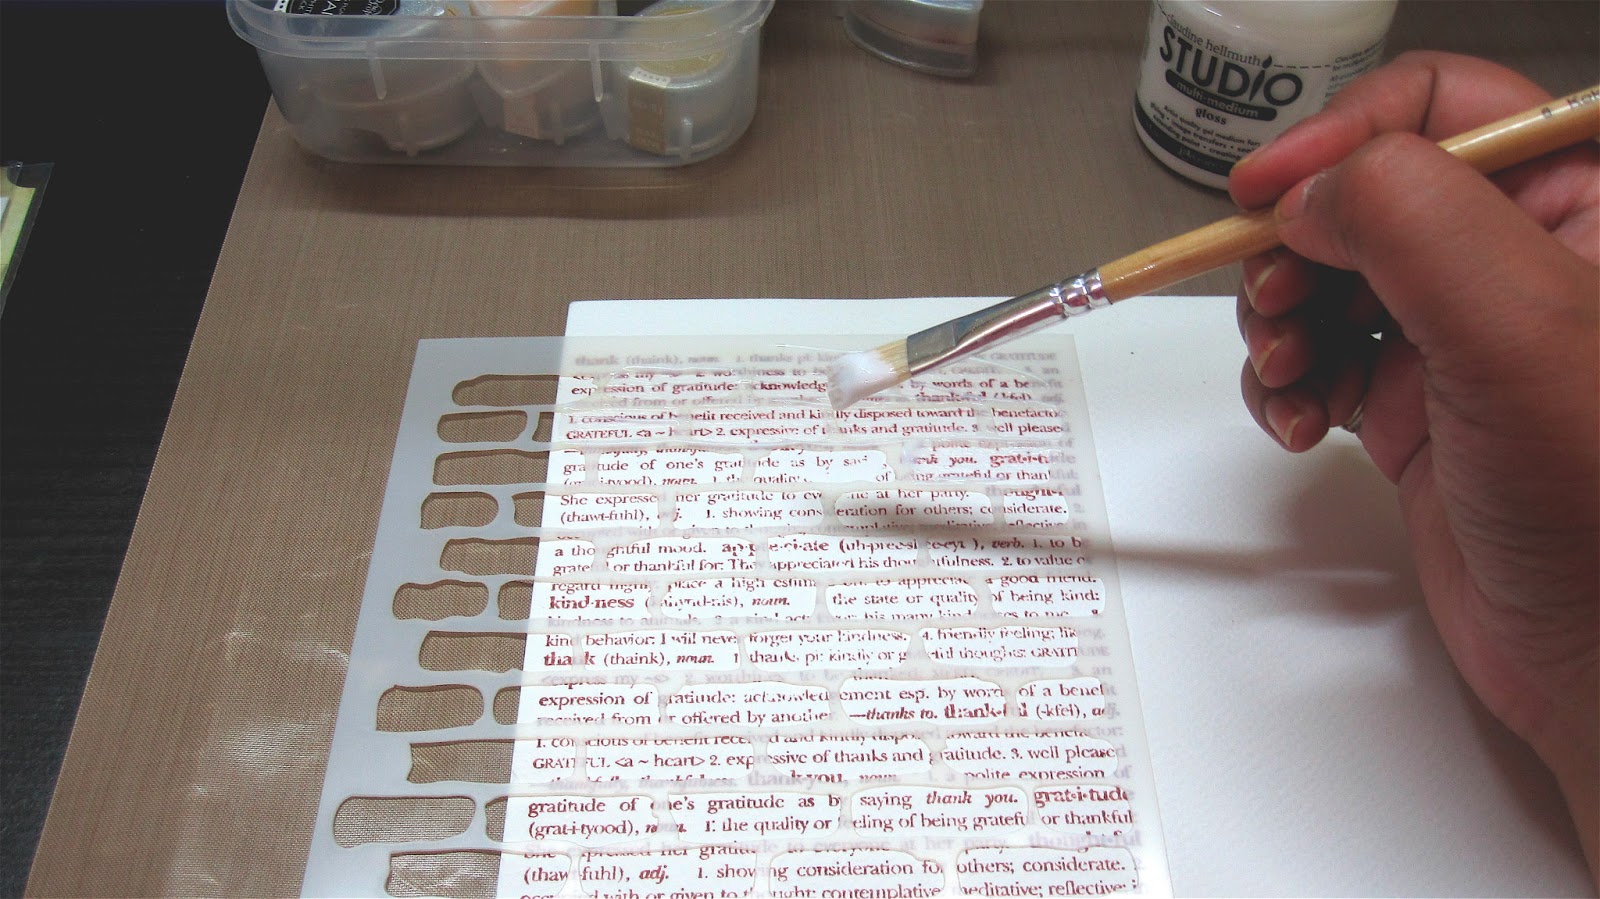
    Stamp a background stamp on a cardstock


    Place the desired stencil over it as per your requirement


    Take a paint brush and pick a little of the Studio Multi Medium Gloss and start put applying it through the stencils on the stamped background


    Apply it in one stroke in one direction


    I like leaving a few places blank ....as in I did not apply the Gloss on a few bricks here and there...and then leave it to dry or you can blow dry it with the help of your heat gun or hair dryer


    Take the ink color you want on an applicator and start coloring over it in circles....


    Do you see that the gloss actual resists the color and pushes it only to the edges ...the gloss does pick up a slight color but its very negligent


    Once you are satisfied with the coloring remove the stencil


     This is what you will get as the end result....the places where you see the dark brown colored bricks are the areas that didnt have the Studio Gloss Medium applied on it...


    All four together....

    I personally love the last two techniques and use them the most in my projects ...however there are two other simpler methods too...

    1. Place your stencil on the desired Cardstock and apply Versa mark over it or embossing ink over it....remove the stencil and sprinkle embossing powder or flocking powder as per your wish and heat set it to get a beautiful effect...

    2. Place your stencil on the desired Cardstock and apply perfect pearls over it....try it with a mix of two to three colors and remove the stencil ...You will love what you see !


    Well these are a few ways to play around with your stencil to create backgrounds but experimenting with products teaches us new ways that we discover on our own...so do not stop the process of experimenting and while you do that I shall take your leave only to be back with some more backgrounds techniques in my next post.....till then HAPPY CRAFTING!!


    Copyright © 2015 The Craft Shop
    | Distributed By Gooyaabi Templates