
Gelli plate and Gel Medium -Technique Tutorial
Hello Everyone,
Shilpa here, after a break of few days, with Gelli Plate print techniques.

I've created mixed media piece and I've tutorial for you to know how I made the background for this.
We are trying here - Gel Medium Resist technique with Distress Stains, so what all material we need?

Gelli Plate, Stencils, Watercolor papers, Brayer, Distress stains, Gel Medium.

I took out Gel medium from the box with my palette knief on Gelli plate, as it is very sticky. Rolled it with my brayer.

Kept flower stencil on it, on that paper and took the Gel Medium print.
You need to wash your stencil immediately or it will get spoil. Or keep them in water until you finish your project.

Here you will see, gel medium is completely dried. And now magic begins....

I applied Mowed lawn distress stain with its dauber. Its very easy to color big surfaces with distress stains. I like to add Picket fence distress stain in my other color to get color variations on the surface.

I heat set it wit heat tool and buffed surface to get this fabulous print.
here are other examples...

Here I've used Circle stencil and for resist, Aged Mahogany Distress stain. Isn't it gorgeous...love it!

Flower stencil and Evergreen bough distress stain. I love to create drips in my creations..for that I spritzed some water.

Aaaha...this is totally vintage. It has circles as well as flowers.

And this is the one I used for our today's mixed media piece. I used Gelli plate, Netting stencil and gel medium. When it dried, I applied Distress stains ( Colors- Squeezed lemonade, Spiced Marmalade, Picked Raspberry, Peacock feathers)
When I added flowers and embellishment, it has come out like this.... :)

Are you liking it?
Here are some other views
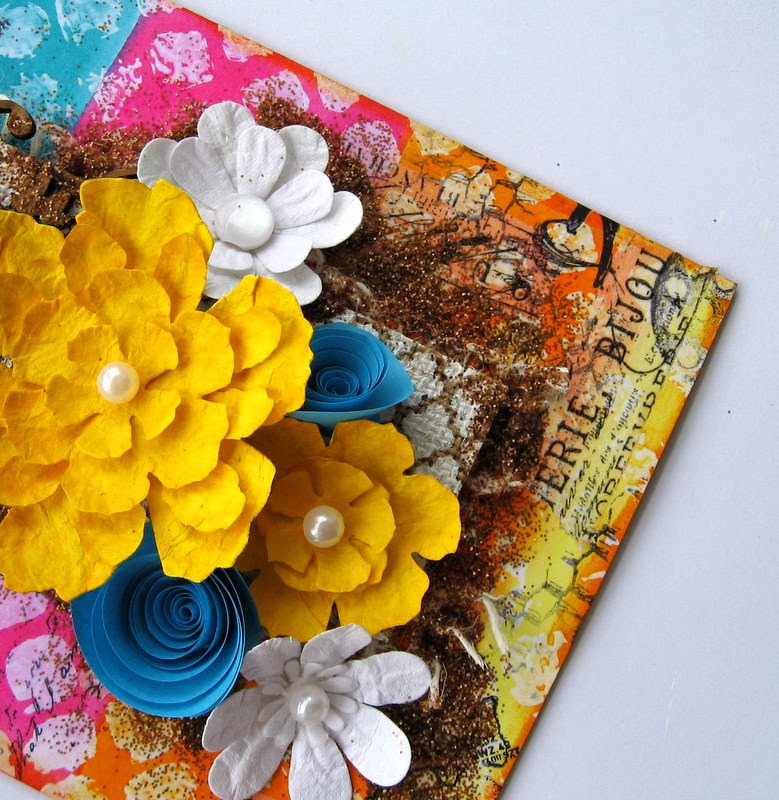

For any mixed media work, creating lovely background is as important as your center piece. And with this technique, it is very easy to make in multiples at a time. Do try it! It is a fun!
Thanks so much for stopping by.
Supplies used from The Craft Shop:
Gel Medium
Ranger Distress stains
Prima Finnabaire stamp- Rust and dust
Ranger Distress Glitter Tarnished brass




.jpg)


