
Use your stamps,dies and distress inks to create a garden scene....
Hello friends..
Once again, Rajni here from Passionately Curious. This time I m sharing a picture tutorial of a scene card that I shared as an inspiration for you in the beginning of current challenge. This is my very first picture tutorial. I have tried to cover most of all the steps. Being it my very first tutorial, I am bit nervous as all the step by step pictures are clicked by me....the thing I always avoided. Hope I m not that bad in doing that.
Now lets begin with the card.
Sizes
1. Main card base of 5"x 6"
2. card used for creating a scene is 3.5"x 6"
To start with...first cut a cloud out of small felt piece and stick it to a blending tool. Stamp few clouds on upper half of the 3.5'x 6' off white self textured card stock using Tim Holts Picket Fence Distress Paint. White on white won't show much but it will be visible after applying distress inks.

I have used Withered Wood, Bunddled Sage, Wild Honey, and a little touch of Aged Mohaghany and Vintage Photo on edges.The clouds start popping up after giving them a color. Distress paint acts as a resist to distress inks. You can wipe of the excess of distress inks with baby wipes if you want. now sprinkle little water with your hands and dry it using heat tool.

Stamp with Kaiserkraft Music Stamp and Humming Bird Stamp using Black Archival Ink.


Take any scrap paper and tear it in the shape of grass land. Color it with Mowed Lawn and Vintage Photo.

Place it on the card as shown using foam tapes and cut the extra.

Cut few pcs of grass from the left out.

Now onto flowers....
I have used PTI Sunflower stamp to make flowers. Stamp two big flowers and two small flowers with Wild Honey DI, one big flower center and one small flower center with black archival ink and few big n small leaves with Mowed Lawn DI.

Fussy cut all images with any small n sharp scissors. Give little deep cuts between the flower petals.

Now give little more color to your flowers by adding Rusty Hinge. Also color the leaves using Wild Honey and Vintage Photo. Color the flower centers with Vintage Photo.Emboss them from the back using embossing tool and perforated pad. Also give a little shape to leaves .

Assemble both the flowers by keeping both flower petals one on other using glue. Complete the flower by keeping flower center using foam tape on top.

Cut one piece each from Sizzix Fence die and Memory Box Cycle Die. Add a little color using Vintage Photo and Black Soot.

Now you are ready with all you want for the garden scene. You just need assembling. For the small flowers I have used small daisy punch.

Line up your card leaving 1.4"and stamp the sentiment using black archival ink. Sentiment is from Technique Tuesday Stamp Set.
Note...Always keep a perforated pad under your sheet while stamping. You will never miss the image and more over the image is more crisp and sharp when stamped using perforated pad. Its my personal experience...just try...u will love it.
Note...Always keep a perforated pad under your sheet while stamping. You will never miss the image and more over the image is more crisp and sharp when stamped using perforated pad. Its my personal experience...just try...u will love it.

Adhere the scene using foam tapes.
Note...Here I want to add something. After so much of coloring we generally spoil the back of our card. I don't know about others,,,but it generally happens with me. If some part of my card shows from back ....i try to cover it with a piece of fresh card stock. . It adds a little more beauty to my card.

Another good tip...
I always make a sandwich of red tacky tape and foam tape to give more strength to my cards, The Layers won't come out easily.
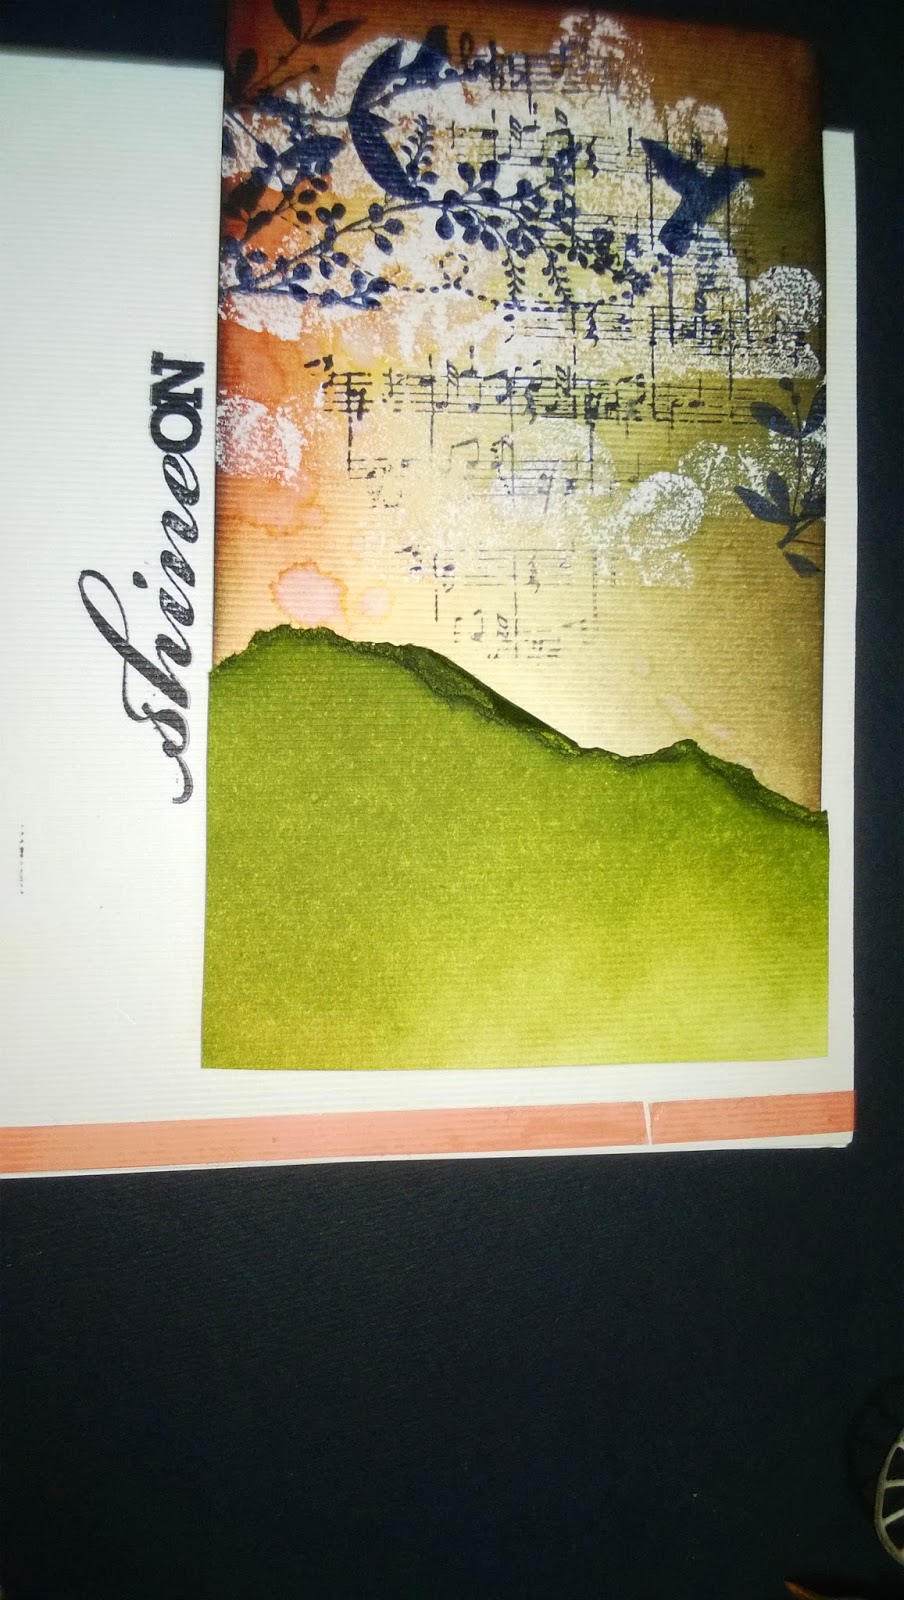
Here is what I did here.First layer is red tacky tape...
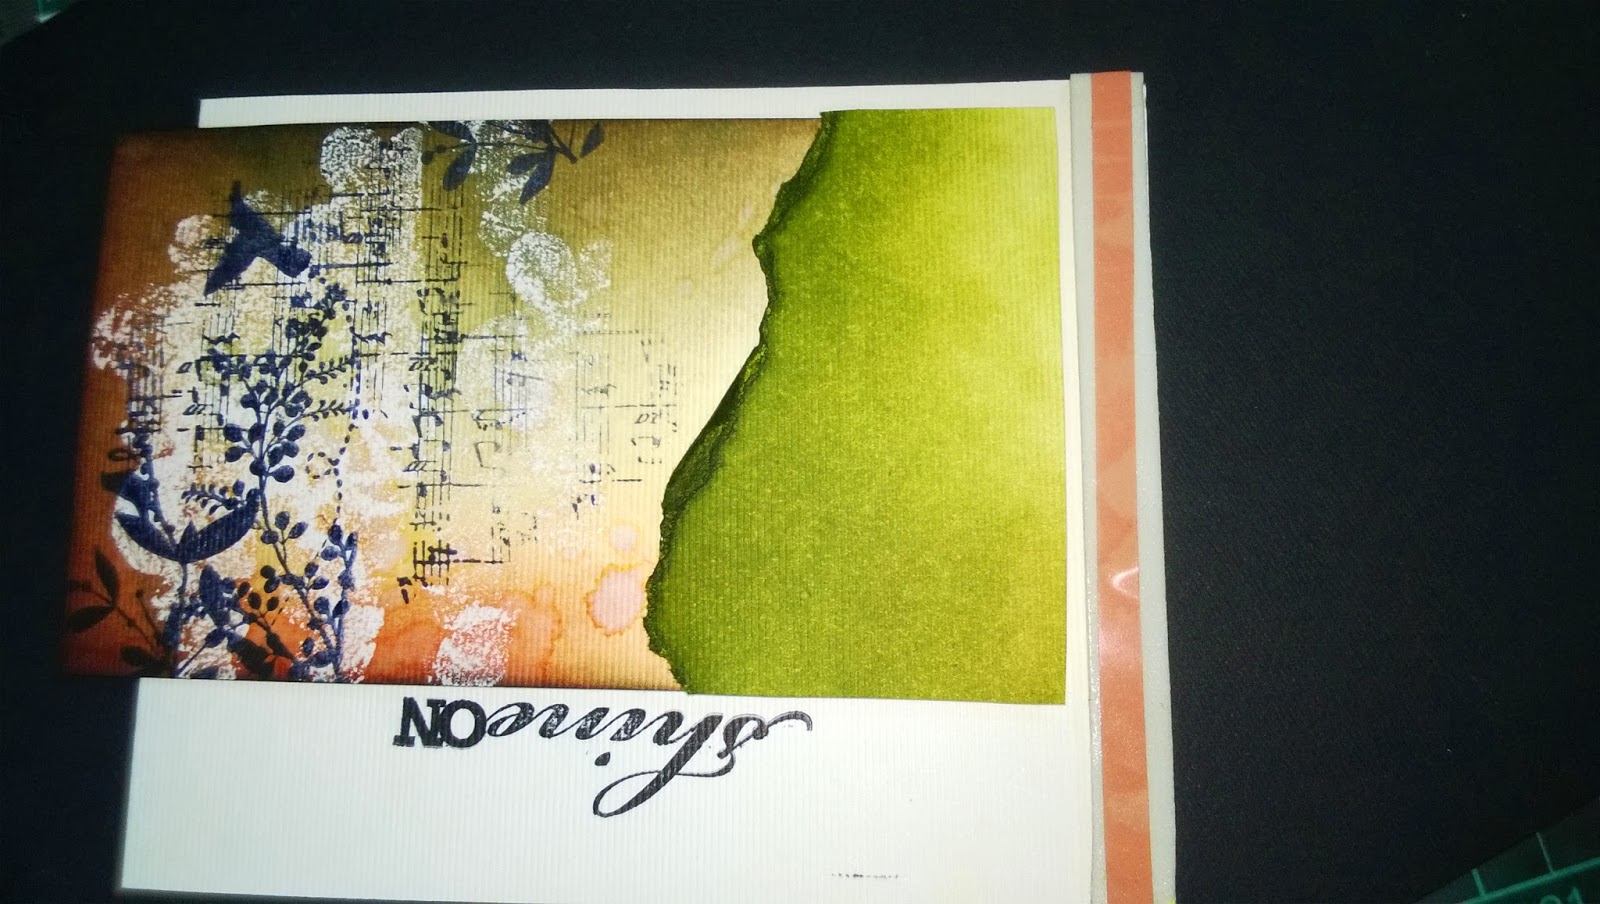
Andd....next layer is foam tape and then again a tacky tape on top.
Now add rest of the layers.


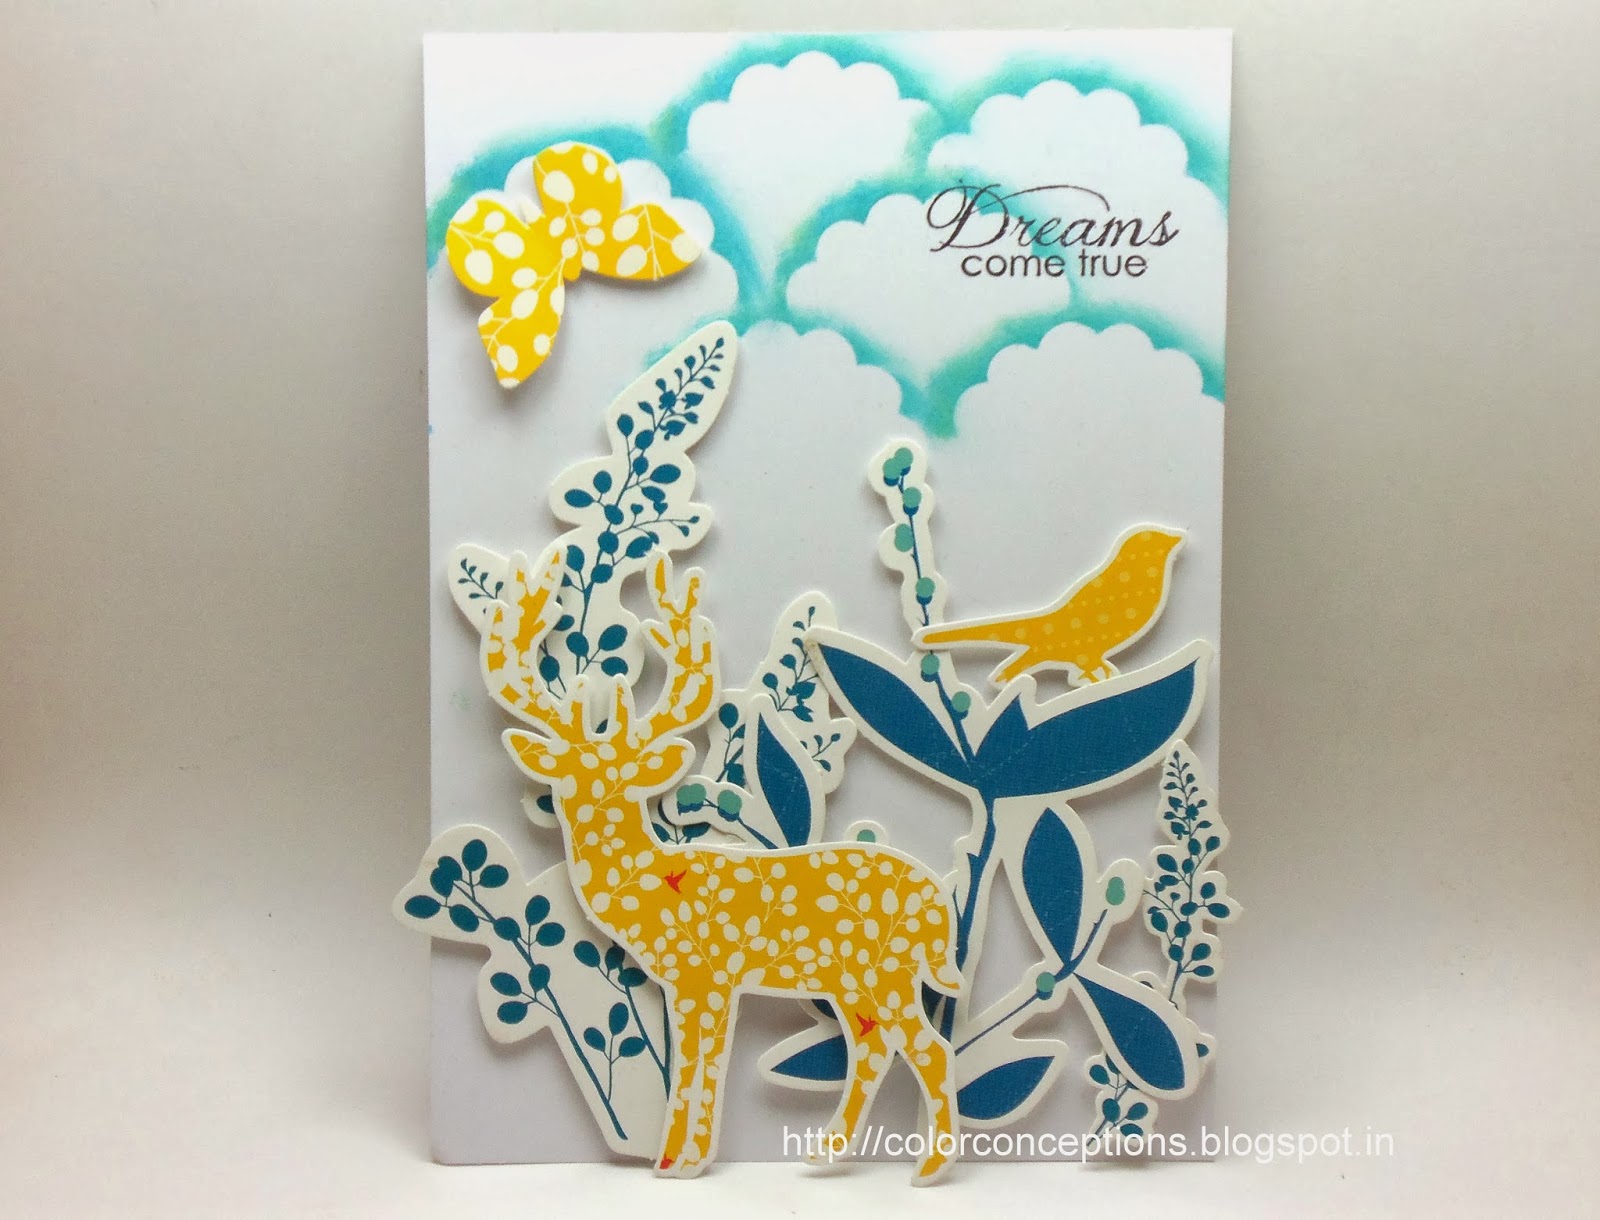
HERE IS THE FINAL RESULT....


Hope I was not confusing with any step. If you still have any query you can mail me at rajnichawla69@gmail.com or leave a comment below.
All the products used here are available at The Craft Store. Also you still have a day time to enter our current challenge.
All the products used here are available at The Craft Store. Also you still have a day time to enter our current challenge.
((HUGS.))




.jpg)


