
Quilling Combing Technique using Double side Quilling comb : Quilled Bird
Hello girls!
This is Angela here from thecraftyangels. Im here today with a quilling tutorial that has been done with help of double sided quilling tool. Hope you guys enjoy this :)
P.S – This is a picture heavy post. Please enjoy reading through while they all load :)
This is Angela here from thecraftyangels. Im here today with a quilling tutorial that has been done with help of double sided quilling tool. Hope you guys enjoy this :)
P.S – This is a picture heavy post. Please enjoy reading through while they all load :)

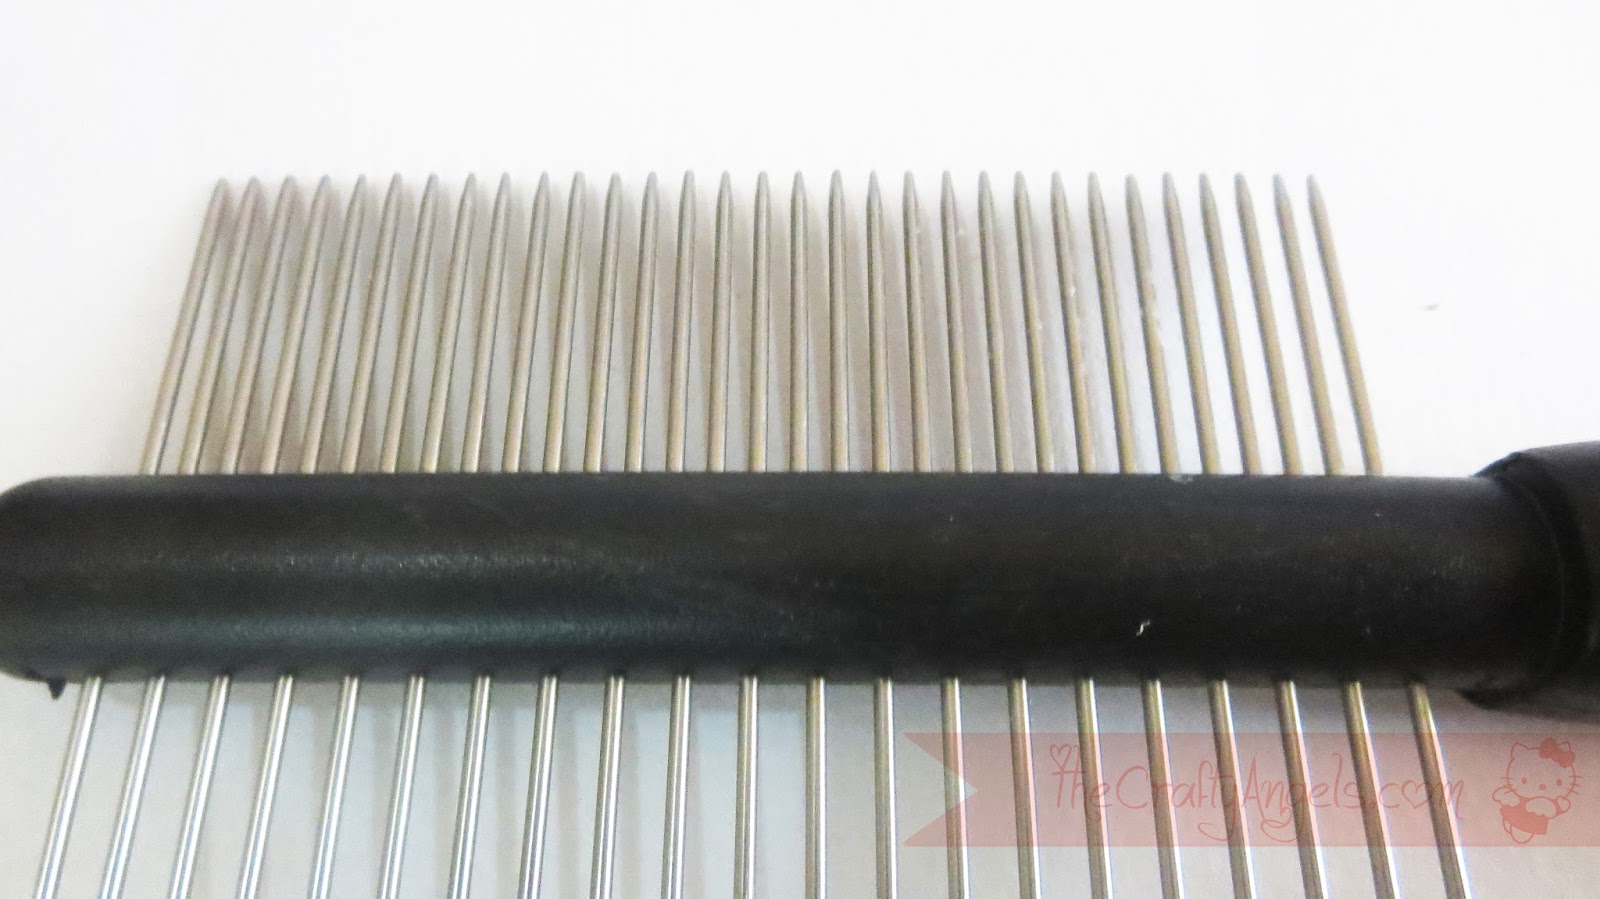
This is a project I started working on along with quilled flower I made with double sided quilling comb (HERE). But somehow as I had very rightly anticipated, bigger projects are totally not my cup of tea and I have been dragging this so much that right now I have stopped everything else to just get done with this! I need to find a perfect frame for this quilled bird made using quilling combing technique but yeah well..maybe after a while :P! Thankyou Priya for giving me the push to create something different  Yeah so for anyone who want to buy this double sided quilling comb that I have used for this quilled bird, HERE is the link to product.
Yeah so for anyone who want to buy this double sided quilling comb that I have used for this quilled bird, HERE is the link to product.Materials required to make Quilled bird using Quilling Combing Technique :
- Quilling strips of desired shades
- Cardboard piece preferebly corrugated ones ( jjust grab one from any packaging boxes)
- Double sided quilling comb
- Outline of a bird
- Glue, Paper pins, watercolors etc
Step by step procedure to make Quilled bird using Quilling Combing Technique :
There is no hard and fast rule as such for this technique and it basically involves fitting in a coils in a specific flow. So lets first see how to go about it.
First thing you need is the outline of the figure you are going to fill – a bird in my case. I printed out a bird outline from the internet and decided the colors I was going to use for each part. My advice would be to have a bigger canvas because my attempt on a smaller one did not give the desired look. The bigger the better! The present bird outline was made to match a 12’x12′ background.

(I had printed out the bird long time back and not started work yet so kinda used it as a rough paper for stamping :P Ignore the mess!)
Next thing you need is your quilling comb to make the building blocks. I have used a double sided quilling comb reviewed and used HERE before, for this project as well. You need to make the basic shape of flat coils by looping your quilling strip between the teeth of the comb from inside to outside.

- Make as many as you think might be required in shades as per your selection.
- Next you need to adhere your outline to your corrugated cardboard and cover it with a transparent sheet of OHP sheet or anything just to make sure your quilled stuff doesnt stick on to your background.
- The bad thing about this techniques is that you need to have some sort of imagination and memory recollection talents :P Imagine how the feathers on a bird stay I mean realize the curves and stick your flat coils in the direction of the curves.
I am sharing a few pics that shows you how I made the head part of the bird. If you simply keep sticking them side by side, eventually when you reach the bottom side, you till end up with a huge semicircle shape that you are unable to cover up! So think flow, work flow, quill flow!
Start with making a border from one end and cover about 3/4th of the area in the direction of flow. You can twist and turn your basic shape to curve it as much as you require and secure it with paper pins like in the photograph.

Keep adding your shapes side by side by using glue only at the sides. Now the trick is to understand your basic shape : tapering at the ends and thicker at the center which means if you are to get an even layout you should be placing the eye of the shape side to tapered end of adjacent shape just like how you see in the photographs.

Once you start feeling that the flow is being disturbed, one trick is to start inserting the shapes in V shape instead of sticking side by side like this “<<<<<<<<“. It will help fill up some space without changing the flow.

So thats how you keep filling in spaces. Also another trick is to fold the basic shape half way just like how did for filling in some space at the wings and body area. See what I mean?


The only thing to take care is to 1)Do not stick to the base but stick side to side and 2) try not to break the flow!
I made sectionwise like the head was a piece, wing, tail and rest body another piece and likewise. I make traced a copy of the bird on my actual base and painted it with watercolors close to the color of my quilled bird.

I filled up the neck area with small white beads because I somehow couldnt think of filling it up plus I was tired of quilling and dragging this project literally :P ! So one by one I assembled the rest of the quilled parts that were removed carefully from my OHP sheets after they were completely dry and assembled them on my painted base.


I smudged some green distress inks on the wings to make a shade difference as I thought it looked very plain and undifferenciable.

A few simple flowers on the branches to complete the look and here are the final pics.


Since I made each part sectionwise, I made the wings as a second layer so that it kinda looked real and 3D.


Tips for making Quilled bird using Quilling Combing Technique
- Think of making a big when you want to try quilling comb technique
- Try to fill in the spaces in the actual flow of the object being made.
- Decide sections and create your works part by part by using an OHP sheet over your outline as the base. You can later use a fair background with neat coloring over which you can org anise your quilled parts.
- Glue the base modules side to side and not to the base so that you can remove them easily.
So did you guys get bored with this really long tutorial ?? Well I clearly did not enjoy working on this long project but Im more than happy seeing the end result hee hee !! Quilling is indeed a patience tester but the end result is beautiful and makes you proud! Do share with us your quilled creations as well :)
xoxo Angela
Is nt that
Is nt that


.jpg)


