
Getting more addicted with washi....!!!
Hello friends !!
What ie addiction ??
"When you can stop you don't want to, and when you want to stop, you can't...”
I am addicted to flowers....and now getting addicted to Washi Tapes.My collection of Washi Tapes is increasing day by day and so is my addiction of making flowers.Two months back I was totally new and din't even knew how and where to use them. And today i am here again with my new post to show u what I created with these super addictive colorful tapes.
Hope I inspire u in creating something new today.


Here is the tutorial for you...
Supplies needed...
a. Washi tapes
b. 26 gauge floral wire
c. Green or brown floral tape
d. Strong thread
e. Flower stamens /small glass beads

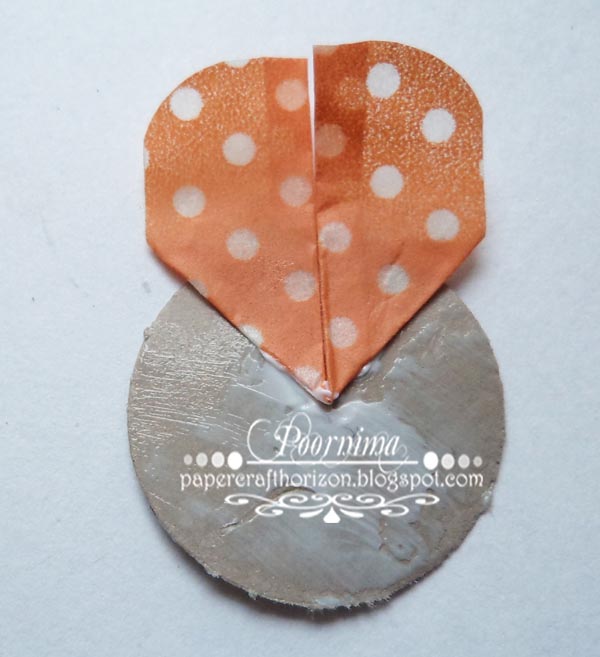
Sandwich the wire between washi tape as shown and shape it like a petal.Press it firmly.You will need 5 to 6 petals for single flower.But I some times make my flowers with 2 or 3 petals also. I don't restrict myself to size and no. of petals. It should be eye pleasing ....thats it!!
Simply twist the petals to make it look more natural.For stamens u can use either ready stamens or small glass beads.For beaded stamens fill one fourth of floral wire with small white glass beads,Make a small loop with beads leaving 4 inches of bare wire on starting end (for holding) and make a twist. Repeat the same process with next two loops.Bring the remaining wire down and trim rest of the extra wire.Hold one petal around the stamens and tie with a strong thread.Tie rest of the petals one by one forming a flower giving a tight knot between each petal.Wrap it with floral tape.
You can arrange a bunch with 2 or more flowers according to your needs.Add some leaves,spirals or ribbons if of you want.
How is this???

this...????

and this...???

and this...???

Aren't they pretty?
all are the results of my addiction to Washi's now !!Here is the tutorial for these....I know you would definitely want to try these.
The above three are the same made with different sizes of flower template but the yellow one is with same size template. For making these you can use any 5 petal flower die or you can even use any retro flower template. I could have used punch but I din't preferred taking any risk for my such expensive craft supplies.This way even I can improve my speed of cutting .Lolzz!!


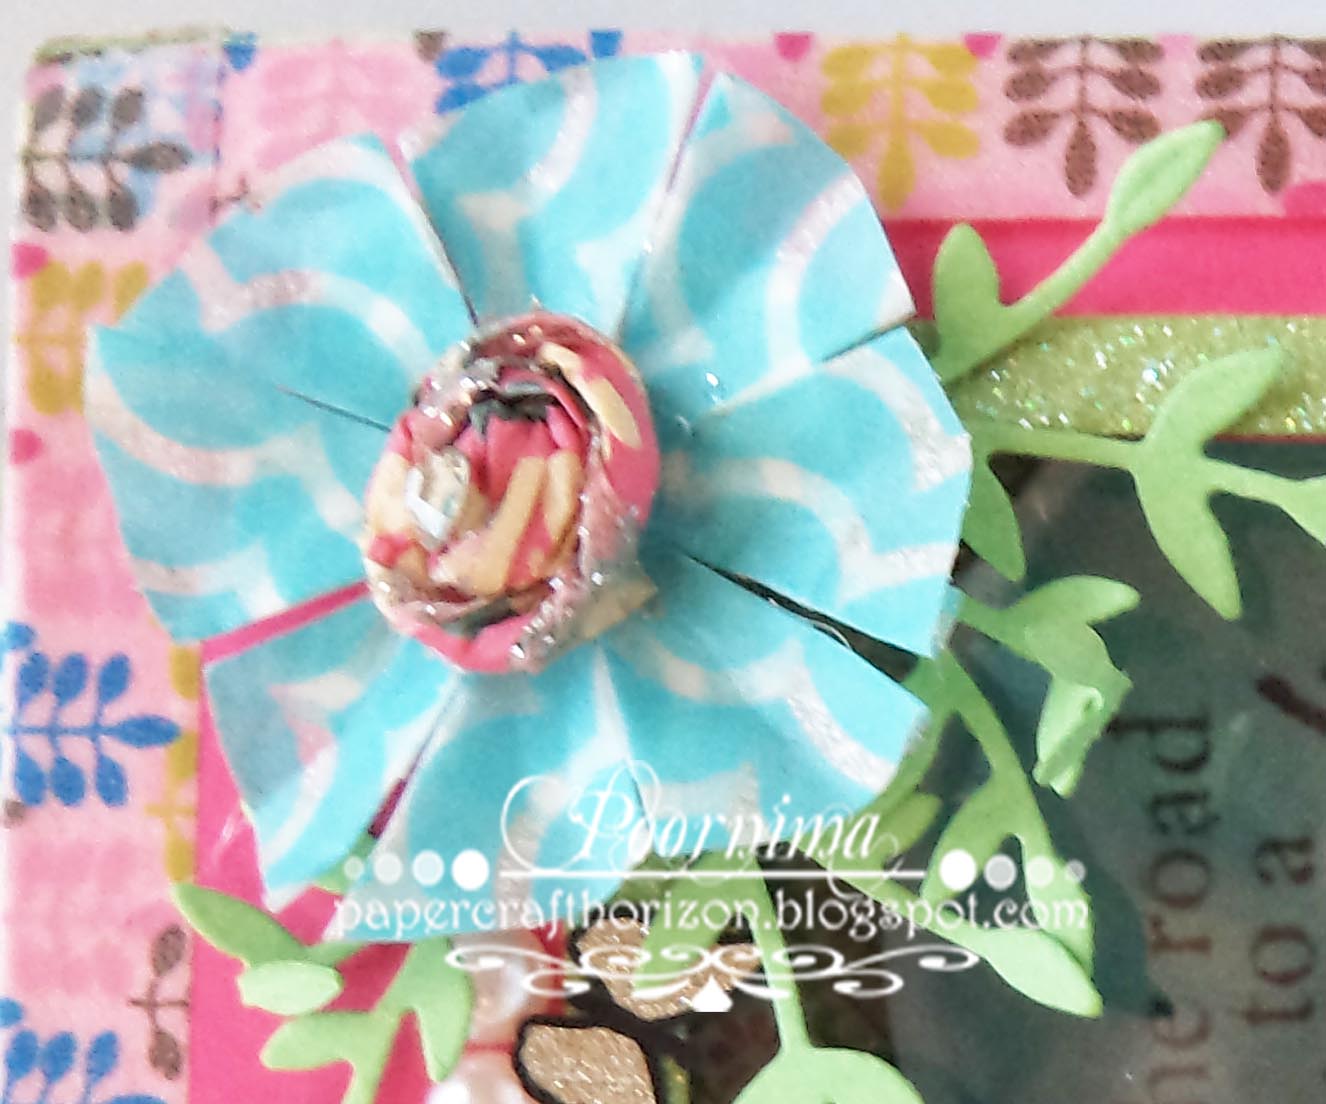
For these prepare a card stock of any light color by sticking washi tapes of your choice. Fussy cut or die cut and pinch all the petals at the tips as you like. You can cut 2 or 3 different sizes if you want. Form a flower by layering different sizes or same size holding with a brad in the center.Here is a video tutorial for your reference.
Just a little embossing and you can give a new look to your flower. Here I did one for you.

In the above flower I have embossed each petal from the back using my ball tool and perforating pad. I think most of all the crafters know how to simply emboss the petals with ball tool.Still here is the video of few simple techniques of making flowers with a punch or a template for all freshers.
Now on to my another addiction.....addiction of buying new craft supplies.The more I promise myself not to buy,the more I buy!!
Cant't resist you know.Is this the same with you also??
I specially opened my new bottle of UTEE for washi....was very scared about the results.Though I had my melt art supplies with me since long....but tried using it for the first time.Look at the results I got..


Look at the side view...
How yummy these are !!!


My daughter was asking for one few days back and she got two. Lucky hun !!
Here is the tutorial for those who have pretty daughters like me.
Ink your cut outs with versamark ink. Sprinkle Ultra thick embossing powder and shake off excess of it. Hold the cut out with foreceps and melt it using your heat gun. Repeat the process and keep adding layers of UTEE until you get the desired look. Simply shape them when little warm. Assemble both the layers with a brad in the center and made rings by gluing them on quilled creations jewellery rings glossy accents. Don't forget to seal the back of the flower with mod podge to make it wash proof. You can also use these flowers as embellishments for your projects.
So...how did you like my addictions.
Am I wrong if I am getting addicted to these beautiful tapes....???
Am I wrong if I am more into buying ??
actually.....I love both :)
Getting addicted to some product and creating something new every time u sit n work is the best thing every crafter should have.These sweet little addictions keep us growing every day.So if you are also addicted to buying.......just log on to our website. The Craft Shop has added a huge range of Washi Tapes at a very reasonable prices for you. All the products used in my above projects are available at our store. Shop a lot and share a lot and...win a lot!! I mean do take part in our on going Challenge 2 Trash to Treasure using Washi Tapes
Thanks to those who have already participated with their beautiful entries.
Bye for now till I come up with something new with my another addiction.Till then have fun with crafting !!
((Hugs))






.jpg)


