Hello Everyone,
And I'll be sharing with you some of my fun experience and projects with Gelli plate.
The Craft Shop has introduced Gelli Plate for the first time in India. And this is my newest toy for print making and mixed media.
Gelli plate is new to me, and I would like to share my experience, tips and tricks over the coming days.
So lets get started..
What is Gelli plate?
Gel Printing Plate looks and feels like gelatin, but is durable, reusable It's easy to clean and always ready for printing. Monoprinting on a Gelli plate is simple and fun. The prints are too cool!
Which material we need to start with?
We will need Gelli plate, Brayer and some acrylic paints.
Open the package....
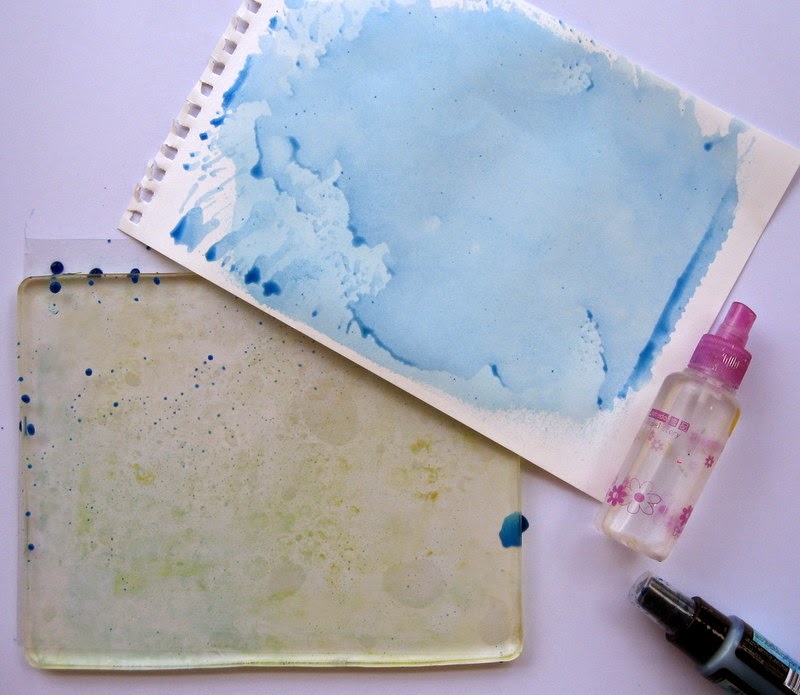
Gelli plate is covered with thin protecting plastic sheet from both sides, so I remove from one side and keep for other side to protect the surface.
I poured 2-3 drops of Pink acrylic paint and started rolling Brayer, wow! surface is smooth and yummy!!
To get even coverage of paint , you need to press the brayer lightly.
Next we have to add texture..
I stamped with my home made foam stamps randomly on Gelli plate and now its a time to get the print on paper.
I just put the paper on Gelli plate and burnished with my hand. Removed it.....Voila...I got this lovely print in minutes.
Here, you will see I used my stencils to get texture.
I applied color on Gelli plate, kept the stencil on it took the positive print on one paper and removed stencil and took negative print on another paper. I've used 3 colors and 3 stencils.
Some tips:
Keep your back plastic protecting sheet intact while playing with Gelli plate and colors.
Use light pressure with your Brayer to spread the color
Use fluid acrylic paints, instead of thick ones.. ( or use bit of water in your thick paints)
For better results use little bit thicker paper than copy paper for printing. (copy paper works as well)
Clean the Gelli Plate after use with baby wipe.
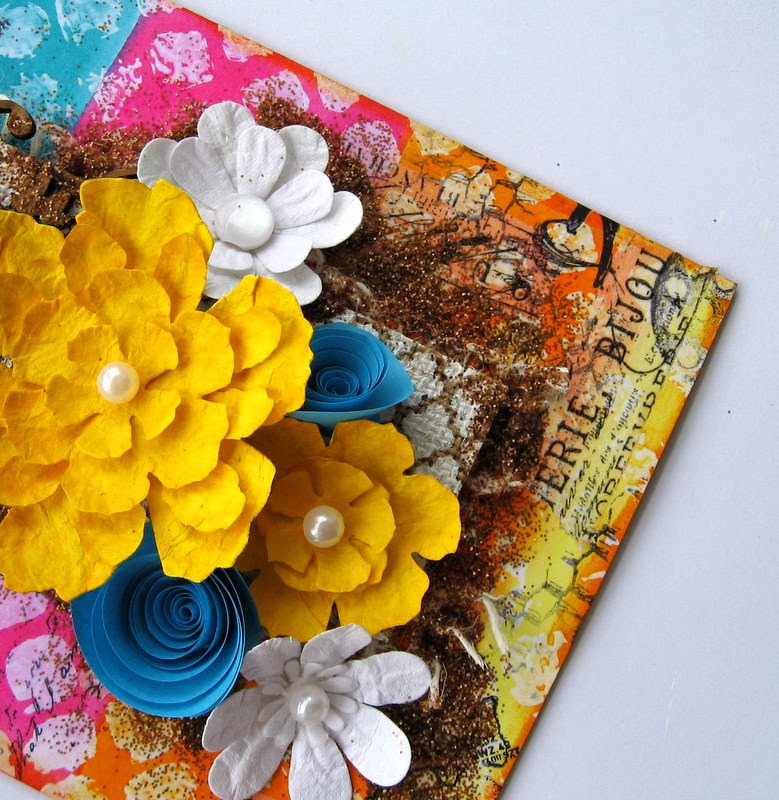
And with one of that fabulous background I made a card...!!
When background is ready, it took me another 5 minutes to assemble the card.
And I am very happy with this...
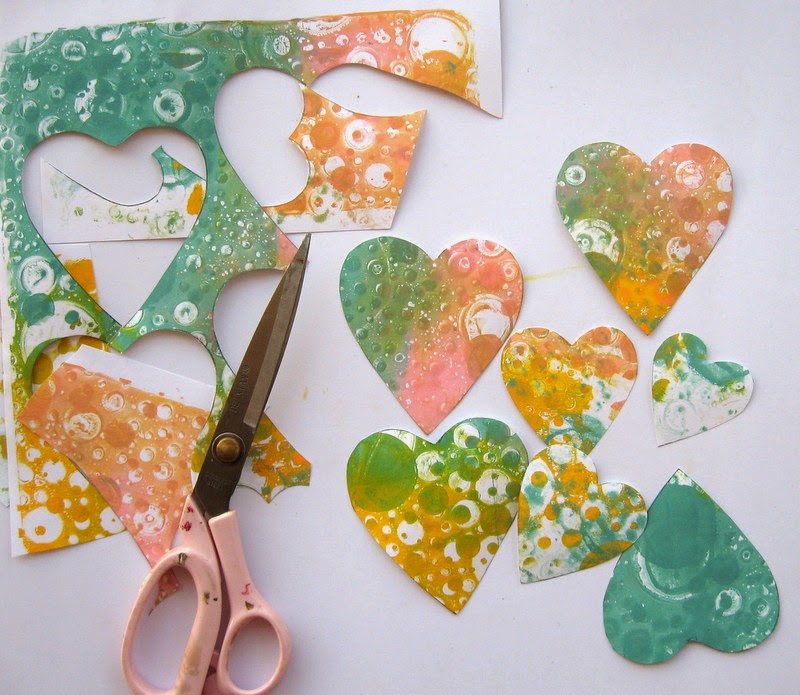
When you are in hurry....and have to make multiple cards..get the Gelli plate print, cut them to suitable sizes, put some diecuts and embellishments... and they are ready!!
Hope you liked my tutorial/ information here. I'll be coming with more techniques....
Let me know your feedback and questions, I'll try to get the answers for you
so join the journey with your own Gelli plate.








.jpg)


