
Challenge #2 : Trash to Treasure using Washi Tapes
Hello Everyone !!
Now over to the current challenge. The theme for our second challenge is –
Trash to Treasure using Washi Tapes
Yes, we want you to convert your trash or waste material into treasure, recycle them into something useful. Just redecorating an item will not be considered while deciding the winners. Look for the things which are not useful and recycle them into really usable item. Remember to add Washi Tape in your projects in a really creative way.
The Craft Shop has a huge collection of washi tapes and that too at the most economic prices. Whatever is your crafting style, we have a washi tape for you. I have got mine, grab yours before they go out of stock. We have amazing tutorials lined up this month to keep you inspiring. So stay connected !!
To participate, please ensure, you follow the below rules
- Be a follower of our Blog
- Link Fresh New Entries only. Back Dated entries not allowed
- Link to the challenge specific post only and not to your blog url.
- Link Back to our challenge..ie Place the url of this post in the post you make.
- Leave a comment below after linking
- You could participate in a maximum of 5 challenges including this
- Maximum of THREE entries per person , please add (2) or (3) for your second and third entry against your name.
- Lastly please remove word verification from your Blog to help our DT leave comments easily.
The Top 3 Entries will receive a Challenge Winner badge and one of them would be honoured as a GUEST DESIGNER for our next Challenge.
One random winner from the participants would receive a GIFT VOUCHER worth Rs 500, to purchase in our shop - www.thecraftshop.in.

To inspire you, we have amazing projects from our Conceptualists. So here we go-
Coverted Glass Jars by Rajni Chawla. Washi Tape so innovatively used here.

Embroidery loop converted into a adorable Accessory Holder for girls by Tanvi Shah. She has also made cute hair accessories using Washi Tapes
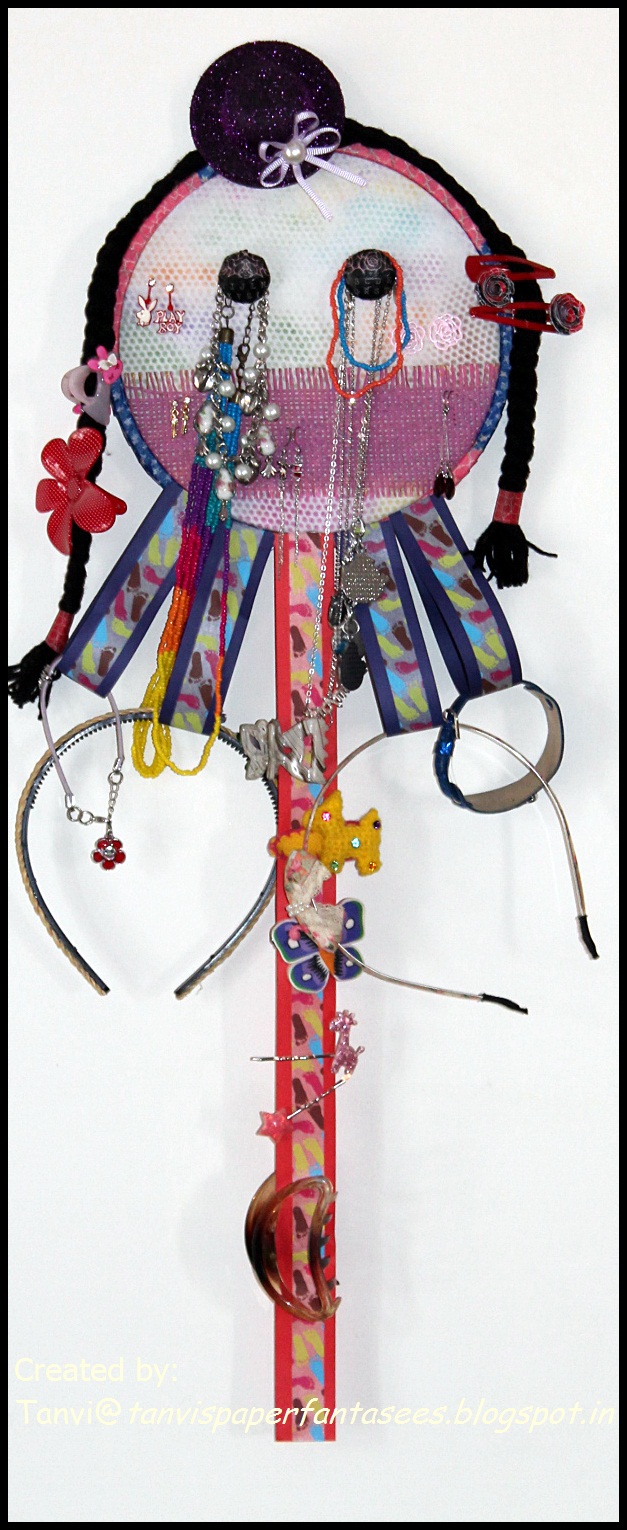
Supplies Used – Washi Tapes
Tape rolls transformed into Pen Stand by Priya Sivaraj. What a cool and creative way to recycle

Old foam sheet recycled into a Puzzle Game by Saumya Mohanty. Awesome recycling with mindblowing use of Washi Tapes.


Supplies Used – Washi Tapes
Recycled tin by Khushboo Rathi. Washi Tapes so well contrasted here.

Supplies Used- Washi Tapes, Memento Firework Spray- Lilac Posies
And Matchbox recycled into a Gift Box by Me :). Decorated it with washi flowers.

Supplies Used – Washi Tapes , Distress Ink – Broken China
So what are you waiting for. Put your thinking cap on and show us your amazing recycled projects with washi tapes. And we promise you to bring more inspirations throughout this month to get you going. Till then..
Have Fun Crafting,
Poornima
Link your projects within 31st July


.jpg)

