Featured

Saturday 20 June 2015

A Note Of Thanks with Wink of Stella Black. ..

Hello everyone! Deepti is here and I hope you are all doing well and having a great weekend. Today, I have 'a kind of card', it's not a card actually, it's a 'book card'. Yeah! ;)

Well.. today, I'm highlighting a product from The Craft Shop i.e., 

You can find a lot of reviews on YouTube about this product but while I was playing with this pen, I noticed a few things about this glamorous black glitter pen!

1. It is a thick glitter paint
2. It is permanent
3. Press a little and work more, do not press too hard, if you do so the ink might leak
4. You can either do calligraphy or simply doodle
5. Above all it's just glamorous! and I loved it so much!

Okay! I have tried this pen on different kinds of paper and now let's have a look at them.


I love writing, here is an example of my 'thanks' and hearts. The black color is just gorgeous on this white paper.


Here is another example, I think it's fine on some colored paper!


My love for doodling/drawing, you can simply draw anything you like. I haven't used any pencil to draw these flowers, if you want you can draw with a pencil first and then go with this glitter pen and then erase all the pencil lines. You will never notice the ink smearing or smudging while erasing because it is permanent!


This one was a fun part. On black cardstock this glitter pen happens to appear like gold. Magic magic!!
Did some stenciling on this one. This pen doesn't stick on acetate or slippery surface kind of surfaces and it's very easy to clean!


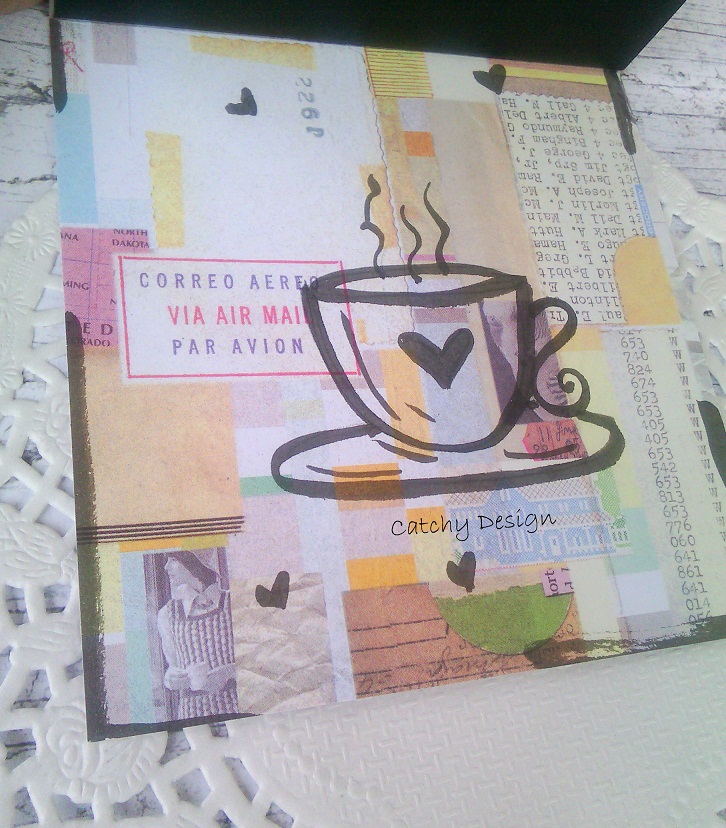
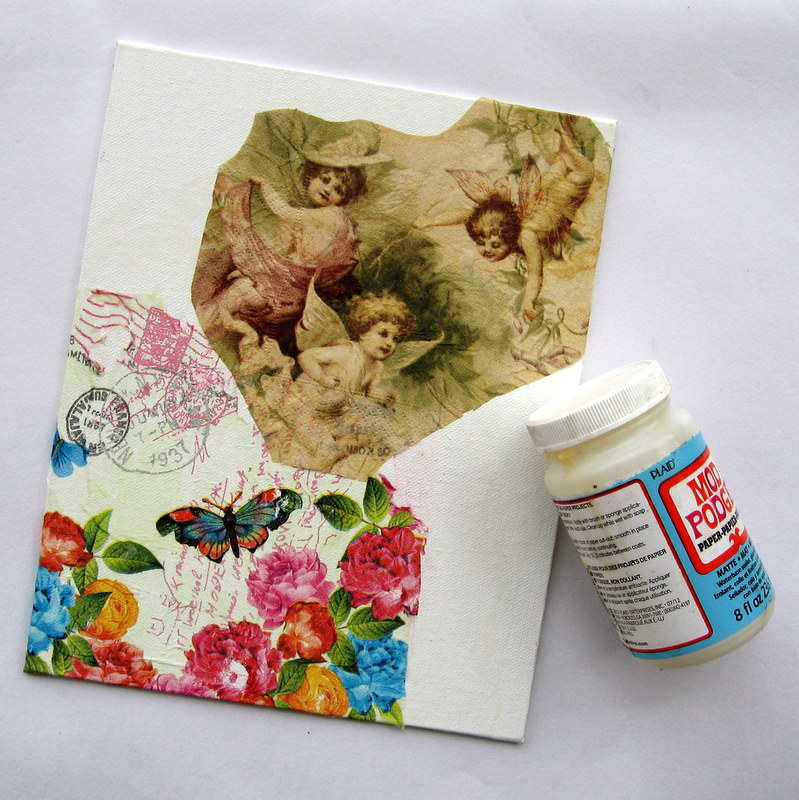
And finally I drew on some Pattern Paper! And I think it's just awesome!

I hope you loved my tiny attempt on this Wink Of Stella Black Pen. If you are interested in buying  any of these supplies please visit The Craft Shop. Thank you so much for stopping by and leaving me a comment. Take care and I'll see you next time! ;)

Sunday 14 June 2015

Dream Canvas with Tutorial

Hello Everyone,

Shilpa here,

Today I've mixed media canvas to share with you.


And here is the process:


I adhered 2 Decoupage napkins to canvas with Modge Podge Matt.


Next applied Gesso for whole canvas and stenciled texture with Modelling paste.


To color the canvas I used distress paints.


When everything dried completely, I applied thin layer of Inka Gold- Old silver color for the raised areas and embellishments.


When I arranged all embellishments my canvas was ready.

Thanks so much for stopping by, for more mixed media inspiration visit my blog Neon diary


Thursday 11 June 2015

Backgrounds with Alcohol Inks

Hi everyone! This is Deepti here, sharing a few cards using Alcohol Inks. You'll need a Blending Solution to go with the Alcohol inks. For more details, tips and techniques please watch this video by Tim Holtz. So very inspiring. Yes! You can buy Alcohol ink related things in The Craft Shop


So, let's get started!

I used a glossy cardstock and earth tone alcohol inks. You can create beautiful backgrounds with these inks!


Card - 1


I used 'currant' ink..

Card - 2


For this card I used 'meadow' ink..

Card - 3


for this one I used 'slate' ink..

Card - 4


And for this one I used all the three colors!

Hope you liked it and I hope you got inspired. If you have any questions please leave a comment and If you create something inspired by this post please share your creations on the FB page. Thank you so much for stopping by and leaving me a comment. Take care and I'll see you next time! ;)

Monday 8 June 2015

Easy Mixed Media Card with Fireworks sprays- Tutorial

Hello Everyone,
Shilpa here,

As we have seen Imagine Crafts Fireworks sprays are so versatile, why don't we make a card with that..
And today I've come up with easy mixed media card,
yes I've step by step tutorial as well...


I love burst of colors!! 


I've used Prima Epiphany paper. I started with just spraying  different colors on surface.
I heat set them in between all layers with Ranger Heat tool.


Next I used Prima Finnabair stamp and Staz On Midi - Ganache for random stamping.


For texture, I used stencil and texture paste...


On another white card stock, I stamped butterfly with staz On midi and colored them with Bahama blue Fireworks spray....aren't those butterflies gorgeous!


I fussy cut butterflies and adhered on card. I also added half pearls for more interest.


Sentiment - Love is a die cut colored with fireworks ink.


It was easy and fun card to make... I finished it in half an hour!
Hope you are inspired ....would love to try it with Imagine Crafts Fireworks sprays


Thanks so much for stopping by.


Products used from The Craft Shop


Wednesday 3 June 2015

Generation Stamping vs Motion Stamping

Good morning everyone! This is Deepti here sharing two cards with you today showing the difference between Generation stamping Technique and Motion Stamping Technique. These two stamping techniques look similar but they are used in different ways.. So let's get started!

Generation Stamping

This is a great technique if you have only one colored ink pad and you still want to achieve different colors tones/shades on your card

ProcedureStamp once and get a dark image. Stamp again – without cleaning – and get a medium-shade image. Stamp a third time and get a light image. Only one ink needed… but it looks like three.

Result - simple, saves a lot of time and it gives wonderful ombre or monochromatic results.

Here is an example!


a closer look!


Motion Stamping 

ProcedureYou stamp the image the first time with the stamp fully inked, then without re-inking, you just repeat stamping the image.  Each time you stamp, the image becomes lighter and it does give the impression of motion.

Result - Such a fun technique and you really can see your stamped image in motion.. lol! ;)

inks - tsukineko ink quartet - radiant neon cool, stamps - inspired by stamping

a closer look


And also to make these card I used Tsukineko Neon Pigment Inks. These are very vibrant and it has some sweet odour. They give a crisp image while stamping. I also used these inks for water- coloring(3rd and 4th pic). They are so pretty!!


I really enjoyed thoroughly making these cards and I hope you got inspired. If you do so please share your creations on our FB page - Color Conceptions so that we can drop by your blog and leave some love. If you are interested in buying any of these supplies please visit The Craft Shop and enjoy..

Thank you so much for stopping by. Have a great day.. :)

Monday 1 June 2015

Black and Lavender - Mixed Media Canvas

Hello Everyone,
Shilpa here,

As you know....I am sharing projects with Imagine crafts Fireworks Sprays, here on Color conception Blog....I wanted to try something different. So I played with Lulu Lavender ink spray on
 black surface....
It turned out awesome!!


Many spray ink colors won't be visible on black surfaces, but Firworks sprays are exceptions.


I started with black design papers from Prima Optimist collection. I cut them in pieces and adhered them as collage with Modge Podge, this is one of my favourite technique to create background.


For chevron texture I used Crafters Workshop Stencil and texture paste.  I added Prima Mica flakes, glass beads and small square cuts from Picture wheel die for more interest.
I applied black gesso for this and when it dried I spritzed Lulu Lavender Fireworks Spray onto it.


I cut out Picture wheel with Sizzix die, on that I adhered one metal flower ...colored all this with black gesso and spritzed Lulu Lavender.
I used Sizzix Tattered flower die to make the flower in center.


All the edges are of small squares are highlighted with Faber Castell big brush pen -black. Lastly I applied Inka gold Violet to highlight some areas.

Its fun to work on black surfaces with Fireworks inks... I will be trying my next color soon....do you?
Hope I inspired you to try Fireworks sprays and new technique.
Thanks so much  for stopping by.


Products Used from The Craft Shop:

Copyright © 2015 The Craft Shop
| Distributed By Gooyaabi Templates