Featured

Thursday 27 March 2014

Tutorial: Watercolor Stamping


Create water-colored look with stamping.

Supplies:

Stamps ( preferably with solid areas)
Watercolor paper
Tissue paper

Step-by-Step

Step 1: 
Mount the stamp on a acrylic block & cover it with distress inks of your choice.
I have used evergreen bough, Peacock feathers, chipped sapphire & seedless preserves.
Start with the lightest color of distress ink & cover few random spots of the stamp with it.
Next take the second lightest color of distress ink & cover some of the remaining area of the stamp with it.
Continue this with all the colors till the stamp is fully covered in ink.

 Step 2:
Once the whole stamp is covered  with distress inks spray it with a water spritzer.
This step will help the colors to get blended & create a watercolor effect.

Step 3: 
Now stamp it on to a watercolor paper.
Since I am using a large ( background ) stamp I took the watercolor paper, lay it over the inked stamp & ran my fingers all over it gently to make sure that all of the ink was transferred to the watercolor paper.
Take care not to move the paper while doing this or the image will get smudged.

Step 4: 
Lift the paper from the stamp & set it aside to air dry or speed it up by using heat tool.
If you don't want the splotchy dark areas of color then you can take a tissue paper and just touch its tip in the little pools of color to take away the excess.
I liked this look as it adds to the watercolor look so I let it dry as it is.

Step 5: 
As you can see in the above picture there is still lots of ink on the stamp.
If you want a less vibrant & soft colors then again give it 1-2 spritz of water & repeat step 3 & 4.
Below you can see the example of  second time stamping (2nd, 4th & 6th panels)

Below is the card I made with this water-colored stamping background.

This technique gives the gorgeous effect of watercolor with much less effort.

I hope you give it a try  :)

Supplies used:


Monday 24 March 2014

More Techniques to Use Glitter

Hello everyone..
This is me ( CHARU ) , again to show you some more techniques of using your glitters.. Before I proceed further on this topic, I wanna remind you all of our Challenge this month.. Glam with Glitter .. Don't forget to use your glitter in unique way and participate to win..

Moving further on the techniques of using glitter...
I will today show you all how you can simply use your Glitter with Mod - podge, to create wonders in your crafting..
I actually mixed my Red glitter powder from  The Craftshop with equal parts of mog podge and applied directly on my MDF objects to give them a glittery, glamorous and shiny coated look.. Believe me this saves me time ( i dont have to first stick patterned paper, then coat with mod podge and then keep waiting for all that to dry).. and this saves me some patterned paper too..  ;) ... I can apply the same mixture on old footwear too , to give them an absolutely new look.. remember my inspiration project for you all this month..

and here are the pictures...


Next technique ...
Mix mod podge and glitter in equal parts,  and then add baby powder to thicken the paste...
Use this mixture as modelling paste to create glittered stenciled patterns.. I used green glitter with mod podge and baby powder to create borders at various places, plain card stock  or patterned paper ...
Here are the pics...


Hey !! did you recognize the border... Its martha stewart doily heart lace punch.. I used it as stencil to create these borders... :)  Hope you all liked the techniques ... 
Thank you for your time and love..  :)


Sunday 23 March 2014

Glitter-fly

A very good morning to you all!
Hope you enjoyed the lovely posts by my teamies & our GD. This month is all about glam-n-glitter at Color Conceptions with the release of our own brand of glitter in 15 sparkling colors.


Today I will share a very simple technique to make flower stamens with glitter. Let me take you through the pictorial. 
Gather your supplies - Glue gun, glue stick, floral stems, loose glitter. 


Once the glue gun is ready to use evenly spread the glue on the tips of the floral stem.


Quickly dip this into the glitter & viola your stamen is ready! Easy, didn't I tell you?


I used all the glitter colors I had & used these to make calla lilies which I'll show you in a bit.


Another quick & easy glitter technique to add dimension to your embellishment.
I first die cut  a MB pippi butterfly in the corner of a CS (will be used later) to create a negative space. Then the CS was embossed & distressed with a blend of these colors squeezed lemonade, peeled paint & salty ocean. After which I stamped a script over it (hope you can see it!) with distress paint (picket fence)


Next glue a cellophane tape on the backside as shown here,


Now sprinkle some glitter over & spread it evenly into negative of the die cut & tap off the excess. This is what it will look like - 


I also die cut the same butterfly in acetate & used the Wink of Stella clear brush marker to add a bit of shimmer to it. The die cut was distressed & both these were layered over the glitter one. This really looks fantastic in real with the glitter peeking from under the butterfly.


Here is the finished card...........hope you like the handmade calla lilies too!


This is it from me today. 
If you like our tutorials please do leave some love & even if you don't ;-) let us know!!!
Thank you for stopping by today!


Thursday 20 March 2014

Glam up some more with glitter!!

A super good morning to all you lovely ladies!

Hope you've been enjoying all the awesome posts by our fellow DT members. Each one has been made with a lot of hard work! :)

As for me, I've only been shopping and not crafting! Hehehe.. Who can blame me?! Check out the gorgeous products at thecraftshop and you'll be sailing alongside! ;p

This months challenge is all about glam with glitter and isn't it awesome that we now have our own brand of superfine glitter!! It comes in 15 awesome shades in little PET bottles that are easy to store and no question of spills! The little size is sooooo convenient as well :) I love it!


Im here today to showcase also our tacky/double-sided tape. It's very economical and has great sticking as well. Its permanent and the roll itself lasts really long!!

Here is a little tute on how to use the tacky tape for something besides the usual sticking :) (of course it has to include glitter!!!)

Materials needed -
Cardstock
Tacky tape
Super fine glitter
Scissors
Funnel tray

1. Place the tacky tape vertically and at equal distance. Remove the red lining and then sprinkle the glitter. Spread the glitter evenly and then shake off the excess. This is what you will get.


2. Repeat step one horizontally and you will get this grid pattern (I tried just the grid, but you can choose any pattern :)


3. Use another set of lines for a second glitter shade. You will get this - 


4. Here is what i made with my glitter background!


Our superfine glitter can also be used on the sticker sheets available at our store. Here's another simple pictorial on using our glitter+sticker sheet

Materials needed-
A4 sticker sheet
pattern paper/plain card stock
dies/punches (i have used memory box-delia butterfly, whimsy circle and quinn flourish, cheery lynn doily)

1. Die cut your pattern paper or CS. peel off the matte backing of the sticker sheet to reveal the sticky side. place your die cut on this and press it down well.


2. Pour the glitter over the die cut and rub with even pressure all over. (sorry i don't have a pic of this step!) 

3. shake off the excess glitter and fussy cut your shape. this is what you'll end up with. Pretty isn't it?! :)


 I tried the same method with several shapes


And finally here is what i made with allll my lovely glittered die cuts! :)


I wanted the die cut to be the focus and hence haven't done anything except a little sentiment from my Justrite set :)

Thats it from me today. Don't forget to take part in our challenge this month and shine with your crafting! :)


Wednesday 19 March 2014

Glitter Fun with our Guest Designer

Hello lovely ladies!
Today we have a very special guest with us for this months theme. She is one girl who can never have enough glitter! Yes you guessed it right.................its none other than glitter girl - Tejal sharing her favorite techniques & tips. Over to you Tejal............
Hello everyone...
Tejal here today....and it is my absolute pleasure to be a part of Color Conceptions blog as a Guest Blogger today... (Its a long post...have a glass of cold juice and join me!)
Glitter has always mesmerized me and I love using it in any way possible on my cards, on my projects. It gives any project that finishing touch and a little bit of Oomph and Glam! Which is what this challenge is all about!
Today I'm focusing on dry glitter...that is glitter particles. Not the ones that come in a glue form.
When using Dry glitter, you can apply it in many ways.... with liquid glue, adhesive sheets, double sided tapes, glue pad, sticky embossing powder, mod podge etc.
I'm sharing my 3 favorite ways of using them...I absolutely hate using glue and applying it...because it doesn't give me the perfect finish that I always love!

Glitter can be used as an accessory to highlight the main image (Card 1)
As a background piece  (Card 2)
or to highlight the focal image (card 3)

Method 1.. Using Adhesive sheets.
 These are label sheets with one side sticky and the other side plain. I stick the plain side down to a card-stock so that I can handle the paper better.  (click on any pics to see it bigger)

I have the sticker sheet, a card stock for the base and my colored image, as well as glitter from Priya's Store.
 I have glued the matt side of the adhesive sheet (it has a matt and a glossy side)  to my CS. This CS is cut 1/4th larger than my image piece.
After gluing the sticker sheet, peel off the glossy backing sheet and center your image on the adhesive sheet and stick it down well.
Now you have 1/4th inch border of adhesive sheet that is sticky and ready to take on some bling!!

Pour down your glitter, and using your finger rub it well into the sheet of adhesive.This is a very important step to make sure you glitter stays put.
Tap off the excess and using your a soft stiff brush, remove the excess.

TIP :  always keep some wet wipes. They are the best way to clean glitter!!

And voila..the panel is ready!!

An apt sentiment, finishes the Card.

 If you are worried about the glitter flaking off, you can always give a spray of sealant. I would recommend Arfina artist's fixative (charcoal and pencil- transparent) or the Bosny clear fixative.  (Warning- use these sprays in open ventilated areas. Do not spray them in a closed room, since they have a very strong smell)


Method 2 - Using Double Sided Tapes/Score Tapes

For this card...I'm starting with a base white CS and covering it with rows of double sided tapes. Use different widths of double sided tapes for more funk, or you can use just one size and still have fun!!
I am going for a rainbow color scheme, so I have six rows of tapes...
Tip : Try to get your tapes as close to each other you can..even the slightest gap will show up when you add glitter!! (check out the white line between the purple and the blue glitter) 


 Peel off one tape at a time and add glitter. Planning your colors is essential.
Use your finger and rub the glitter in well.
And continue with all the colors..

  Tip : Try to avoid touching the exposed sticky tape as much as you can. I stuck my finger in, and got a big blob of oil on the dark blue glitter. The glitter didn't stick there...no matter how hard I burnished (rubbed it in)
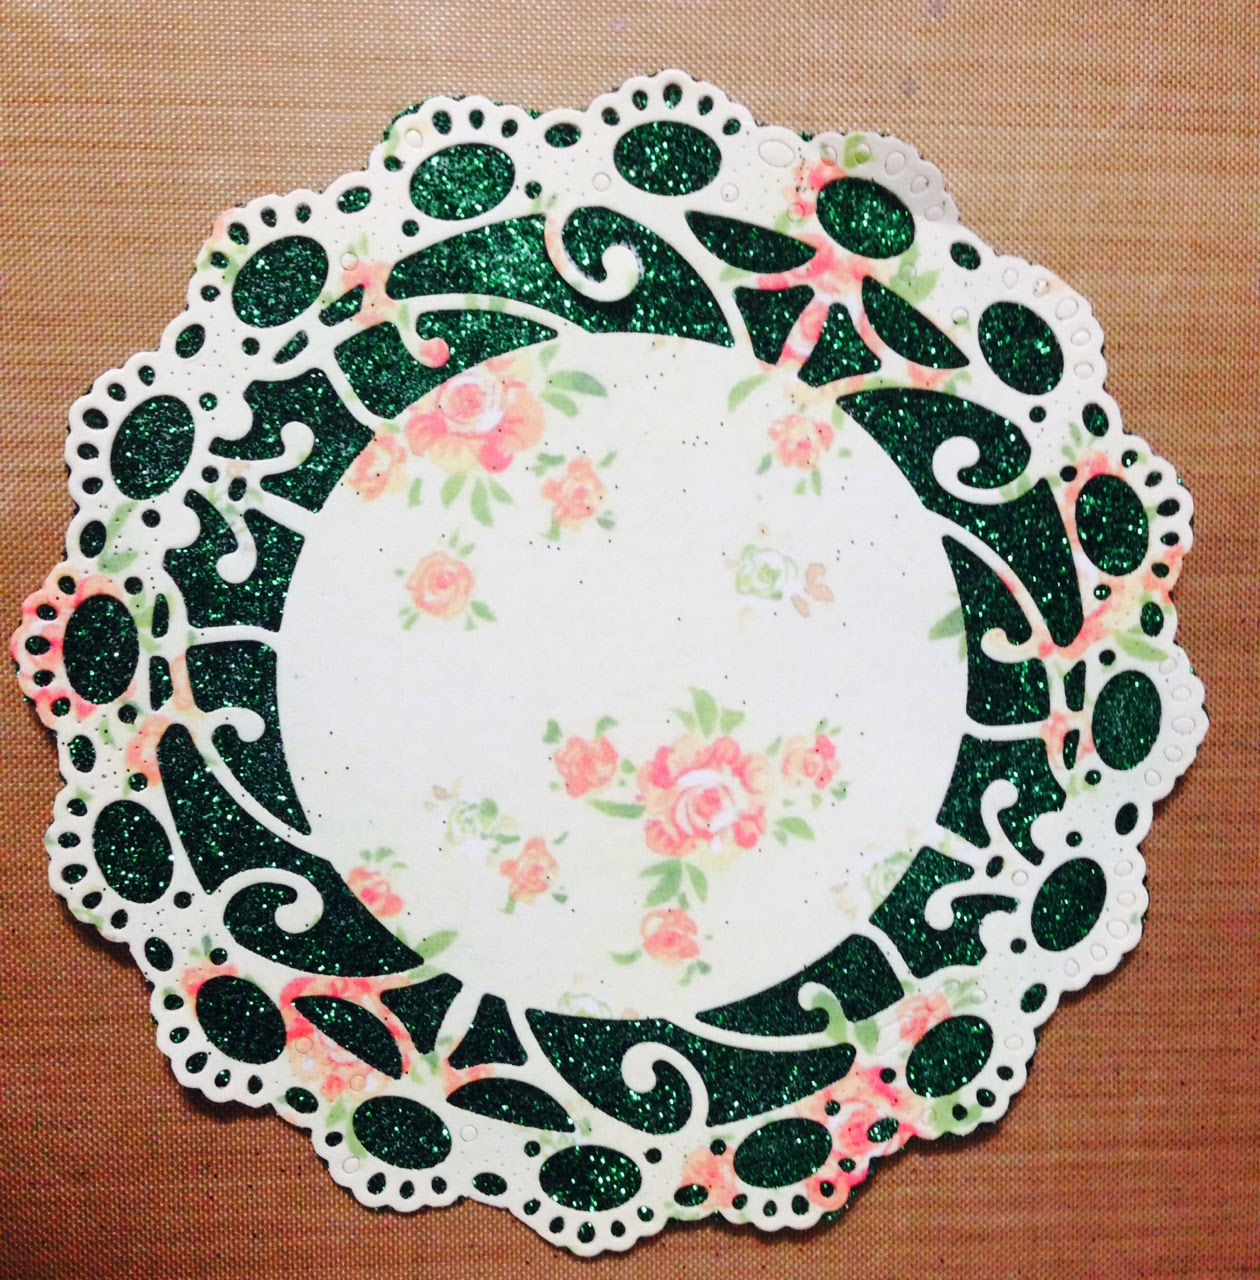
And here is my final center piece ready...use a brush and wet wipe to clean the excess glitter off.
And here is my finished card with the glittered background piece. Click it to big it!
The glitter piece is mounted on text paper and that is on a scalloped square.
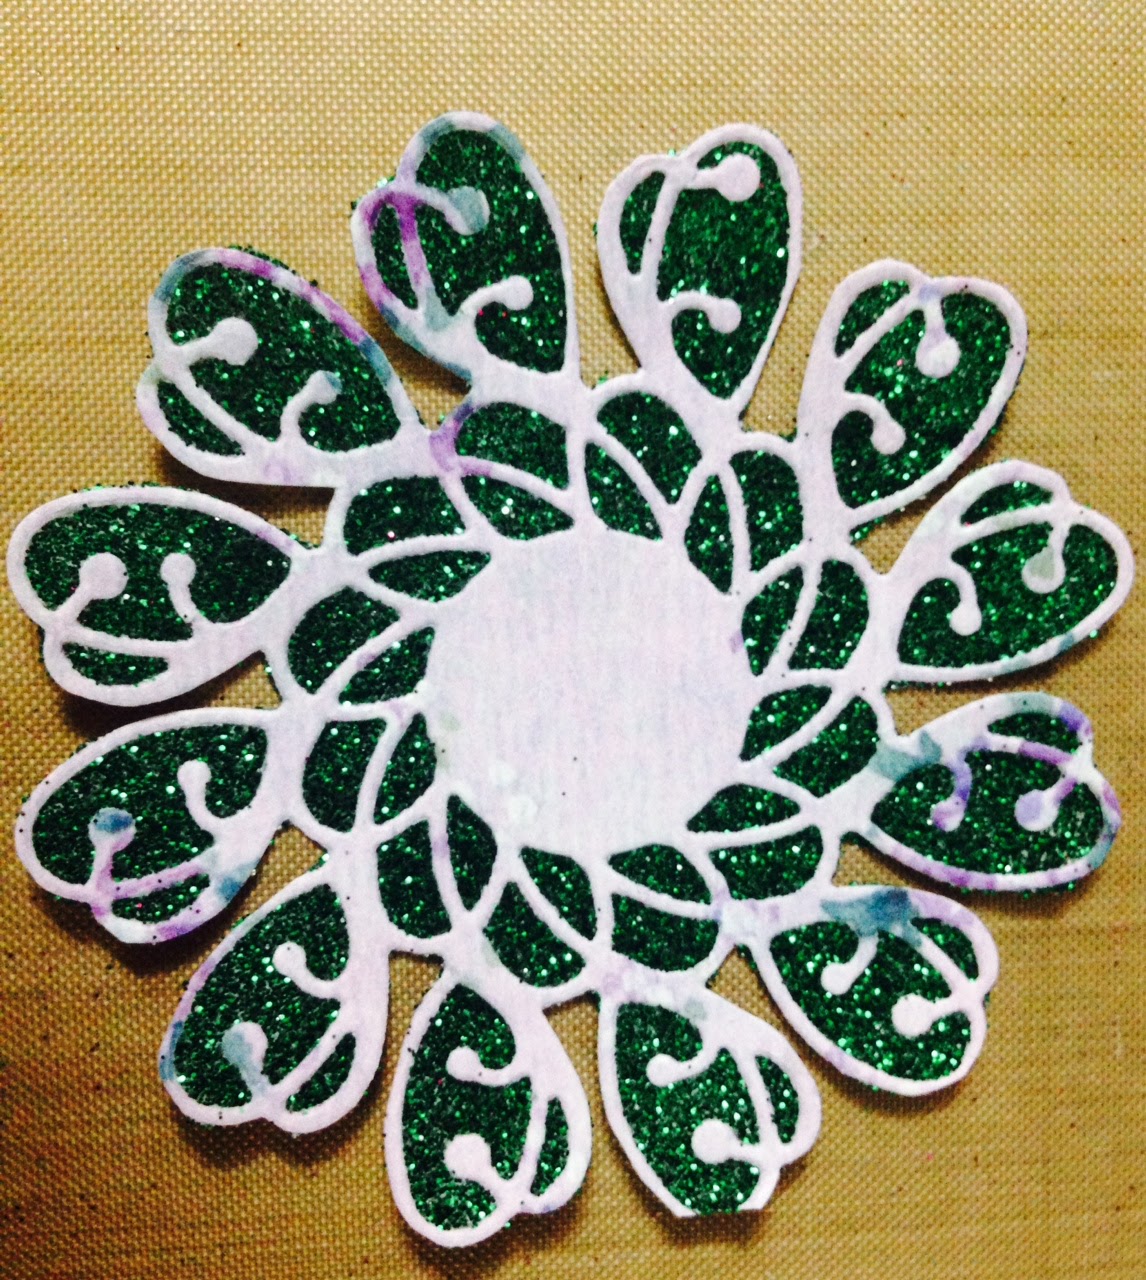
The flower is made with vintage text book paper and the edges are again glittered (here I used liquid glue to edge the petals and dipped it in glitter)

Method 3- With Sticky Embossing powder.

This is the best way to add glitter to any of your stamped images. Works with solid as well as outline images. You need Versamark, Sticky embossing powder, your stamp..and colored inks.

Tip : Try to pick ink color near to the color of glitter that you are going to use. I'll explain more about it later. Here I'm using pink glitter, so using Rose bud Memento ink.

Take your stamp, apply versamark and then tap with your colored ink...and then stamp it on your paper. Versamark remains sticky even if you add another color of ink on top! 

 On left is my image with versamark... and on right is my image with sticky embossing powder.
 This is a chunky powder..its like grains of salt..keep adding till you get an even coverage of powder over your image.

Tip : Before melting it with your heat gun...let your heat gun warm up for a few seconds..I let mine get hot for around 30 seconds and then melt the powder. The sticky powder has to melt quickly...if you let it melt over a few seconds, it will burn. (My sticky powder used to burn always....since I used to treat it like a regular embossing powder...before I learned this little tip from Jennifer Mcguire..just passing it on to you guys!)

As soon as your powder melts, pour glitter and press it in. Tap the rest of it off, and clean the excess with a soft stiff brush.

The reason I ask you to use a colored ink with your Versamark  is this...the extreme left of my image has a patchy glitter coverage. But because I stamped it with pink and used pink glitter...you really can't make it out, unless I tell you to look for it. (Zoom the image and see!)

Had I just used plain versamark and Sticky Embossing powder, the results would have been ugly.

So now that my focal image is ready, lets assemble the card.

So there's my glittery image...as a focal point of this card.

Hope you enjoyed this glittery glam post...albeit a bit long!!. If you have any questions about anything...leave a comment for me, and I will be sure to answer it!!

Thank you Priya for letting me have a ball with my favorite craft supply of all time!! Have fun everyone!!


Copyright © 2015 The Craft Shop
| Distributed By Gooyaabi Templates