
Gelli Plate and Ink Sprays
Hello Everyone,
Shilpa here,
I am back with another project created with Gelli plate printing!!

I made a Journal page today and the theme is - Paris.
Lets see the procedure to make our background. Usually creating background is as important as your focal point.

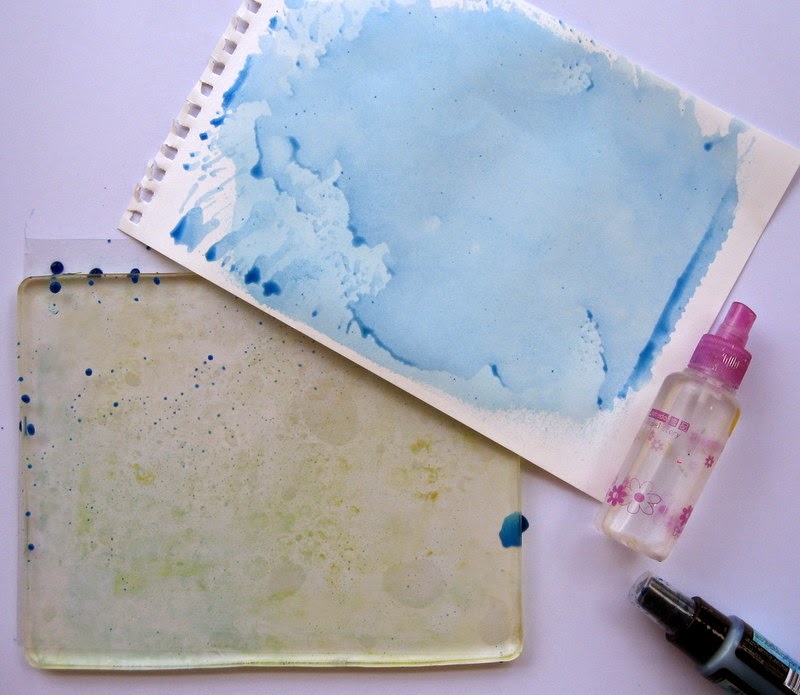
I am using Ink Sprays today. I spritzed light blue ink (Lindy's Starburst ) all over Gelli plate, spritzed some water as well and took a print on watercolor paper. Watercolor papers are good for this technique.


Here, you will see I spritzed dark blue ink and took the print on same paper.

I am not wasting any ink, my second paper is getting ready with Ghost printing.


In these pics , you will observe, I've spritzed the ink only at the edges of Gelli plate. I've used brown ink here,as I am making vintage paper.
You will ask me- why am I taking separate prints on same paper, why don't I mix the colors?
Becoz' I am building the layers and later all will be visible to show up as a color texture!!


One more layer with golden brown Lindy's spray!

Now we have got two Gelli printed papers.
And I've used these to make my Journal page

I've used one Gelli printed paper as a background..for some more layers I've done stenciling with Tim's Layering stencils and newest Cracked Pistachio Distress ink.
Text at the edges are with Heidi Swapp Mixed Media stamp... my new favourite one !!
I've stamped Eiffel tower, Fleur de Lis, Ephemera text on second Gelli Printed paper.
Flowers are die cut from our Gelli printed paper with Tim's tattered flower die.
Hope you are liking this Gelli Plate Printing Series at Colour conception Challenges.
Thanks so much for stopping by today.


.jpg)


