
COLOURING AND LAYERING OF STAMPED IMAGES-A TUTORIAL BY ANITA KEJRIWAL
Hello everyone,
This is Anita Kejriwal here and I am here to share with you a tutorial on stamping and colouring and layering.
Stamping and colouring is a favourite passion of mine and colouring stamped images is something that is very close to my heart. Seeing the black and white images emerge as coloured ones, fill my moments and my heart with joy. So here, I am sharing with you something that I immensely love .
COLOURING AND LAYERING OF STAMPED IMAGES.
You all are familiar with colouring. However , I have done a short video tutorial to show how I colour my images especially floral images. I have used the Zig brush pens, although you can use any colouring medium of your choice. Please follow this video for colouring part and for the layering part, please follow the step by step pictures given below. each picture is well explained. But before we begin, let me tell you a little about layering. This is just breaking up your image into several layers beginning from the bottom to the top most and layering them on top of each other to create a 3D effect. This requires lot of visual play by your eyes to be able to understand which layer comes when. Although the method is bit time consuming, but the end result is super beautiful. So, its worth all the effort.
This is PICTURE HEAVY POST !!!!! So please be patient and just follow each step. I have used the Rose stamp from Impression Obsessions but you can use any image of your choice. I would advice you to begin with simple stamps and move on to more complicated ones.
So lets begin !!!!!

A video tutorial on watercolouring
So now that your colouring is done, lets start layering.
First cut out all the stamped images with a nice sharp scissors taking to cut the most detailed part as much as close as possible. Just study the image and then break up into several layers like in the picture below.


In this picture below, note how I have cut out the leaves and rose. I have disintegrated the rose in three parts. outer middle and inner most. Leaves are few more to add more layers beneath.

Always remember to colour the edges with a dark brown or black pen as the white edges really look bad. Colouring of the edges helps the final image to emerge as one.

Then apply double sided foam tape to all the layers at the back. Take care to cover as much area as possible.


In this picture below, lay down the first full image on to the base layer taking care to match them perfectly over each other. On this base , other layers will come.

This how the layers will come. Now just follow the image, leaves below will come down and so will all the other layers.

This is how the final result will be.

To create the card, I took a base 8/8 inches and the took the same stamp and stamped it all over the front with antique linen, as in the picture below.

Then using the lightest shade of yellow and green paint the images with very watery brush strokes, Basically I am creating a very subtle background to compliment with my focal stamped image.

Then I used this spellbinder card creator die set to create a layered window and matted it on green card stock

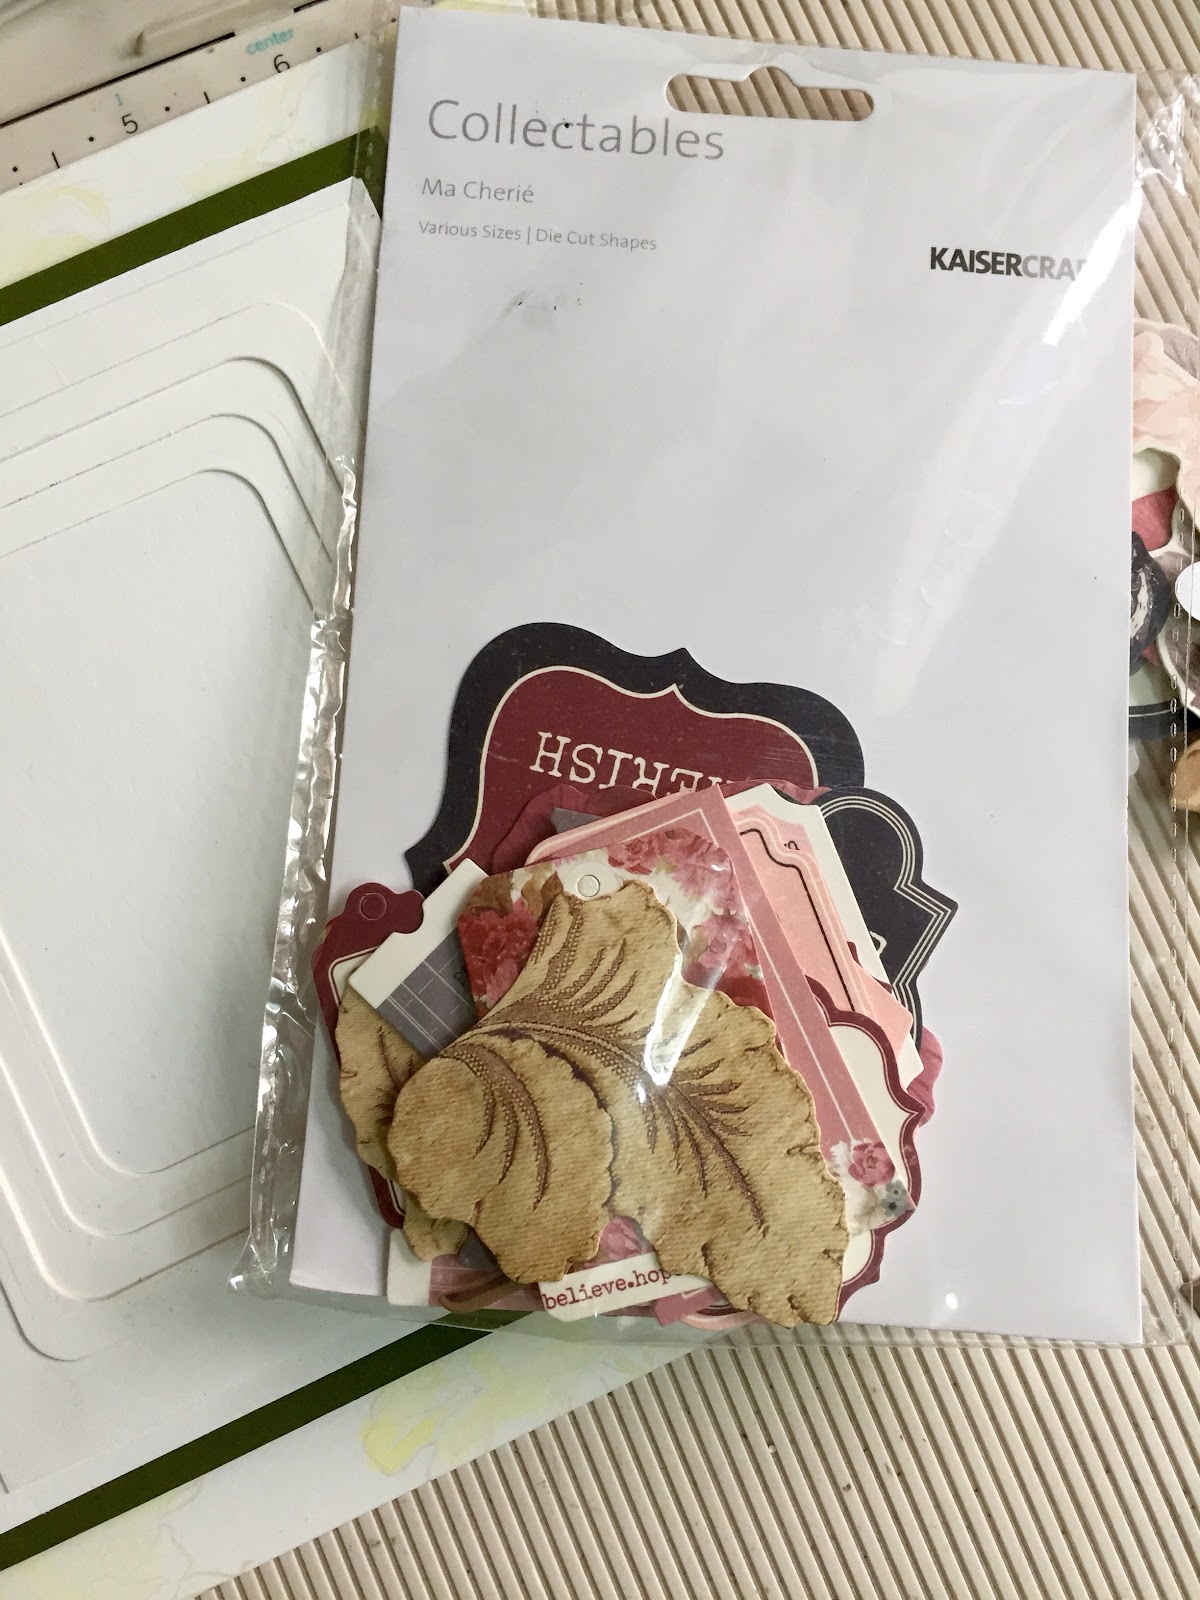
I have also used these die cuts to embellish my card.
finish of the card,by placing all the elements together.
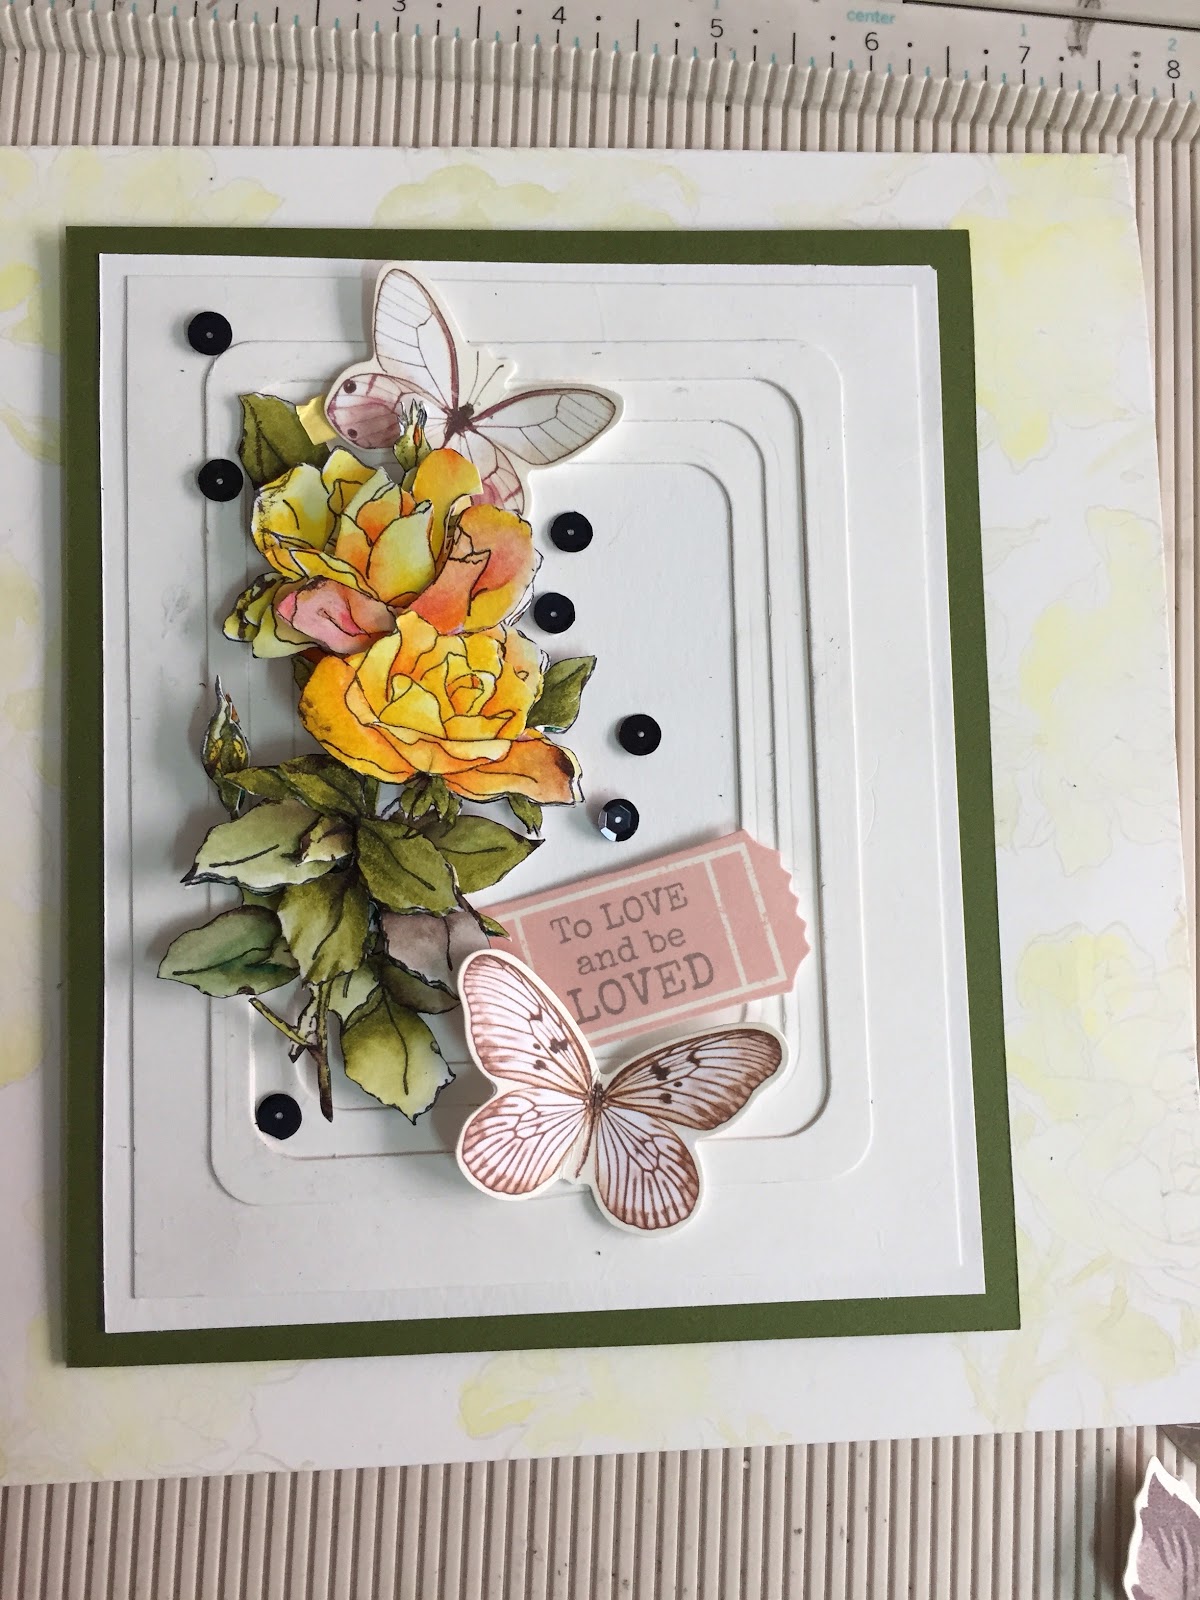
This is how the final project looks like.

So you see, how beautiful this process is. It makes the most simplest image breathtaking. So now, just gather your supplies and get going. All the supplies here, are easily available at thecraftshop.in--an awesome craft supply store that has the best brands with them. So let me see, what you come up with. Please feel free to ask me anything if you do not understand or any other details.
I hope you like this post. I will be coming up with more such lessons in future. So do leave your comments as to what you would like to see. Your words mean a lot to me so please do give your feedback. Thanks a ton for being so patient with me. HAPPY CRAFTING!!!!


.jpg)


