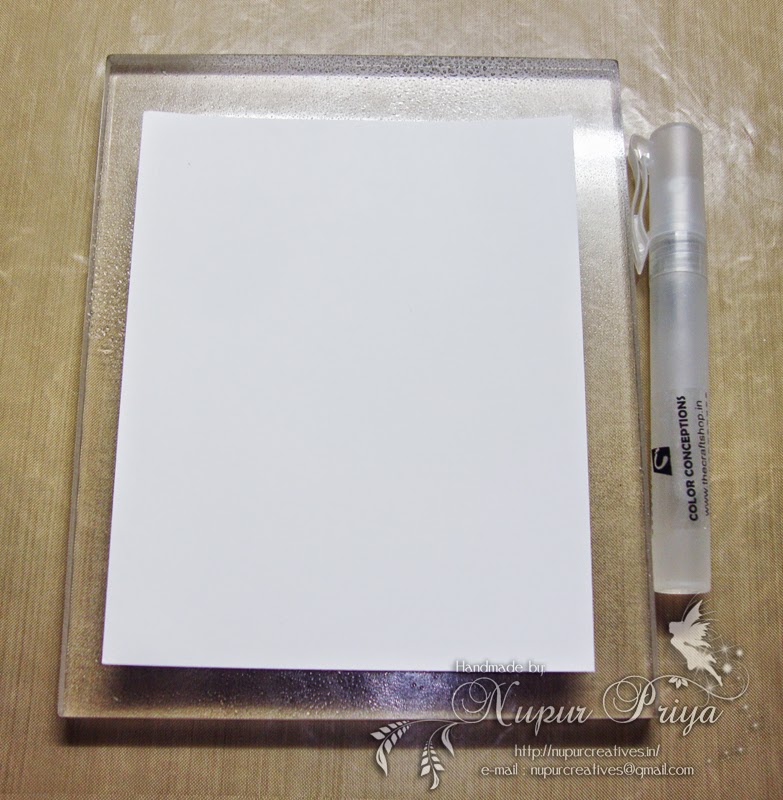
Tutorial: Watercolor Stamping
Create water-colored look with stamping.
Supplies:
Stamps ( preferably with solid areas)
Watercolor paper
Tissue paper
Step-by-Step
Step 1:Mount the stamp on a acrylic block & cover it with distress inks of your choice.
I have used evergreen bough, Peacock feathers, chipped sapphire & seedless preserves.
Start with the lightest color of distress ink & cover few random spots of the stamp with it.
Next take the second lightest color of distress ink & cover some of the remaining area of the stamp with it.
Continue this with all the colors till the stamp is fully covered in ink.
Once the whole stamp is covered with distress inks spray it with a water spritzer.
This step will help the colors to get blended & create a watercolor effect.
Step 3:
Now stamp it on to a watercolor paper.
Since I am using a large ( background ) stamp I took the watercolor paper, lay it over the inked stamp & ran my fingers all over it gently to make sure that all of the ink was transferred to the watercolor paper.
Take care not to move the paper while doing this or the image will get smudged.
Step 4:
Lift the paper from the stamp & set it aside to air dry or speed it up by using heat tool.
If you don't want the splotchy dark areas of color then you can take a tissue paper and just touch its tip in the little pools of color to take away the excess.
I liked this look as it adds to the watercolor look so I let it dry as it is.
Step 5:
As you can see in the above picture there is still lots of ink on the stamp.
If you want a less vibrant & soft colors then again give it 1-2 spritz of water & repeat step 3 & 4.
Below you can see the example of second time stamping (2nd, 4th & 6th panels)
Below is the card I made with this water-colored stamping background.
This technique gives the gorgeous effect of watercolor with much less effort.
I hope you give it a try :)
Supplies used:


.jpg)


0 comments:
Post a Comment