Coloring with Bleach - A Tutorial
Good Afternoon lovely ladies!
This is Tanvi here to share a very simple bleaching technique that can be done after heat embossing a image. I am sure many of you would have already seen or tried this earlier but for me this was a first attempt & I loved the effect. So sharing a small pictorial with you all.
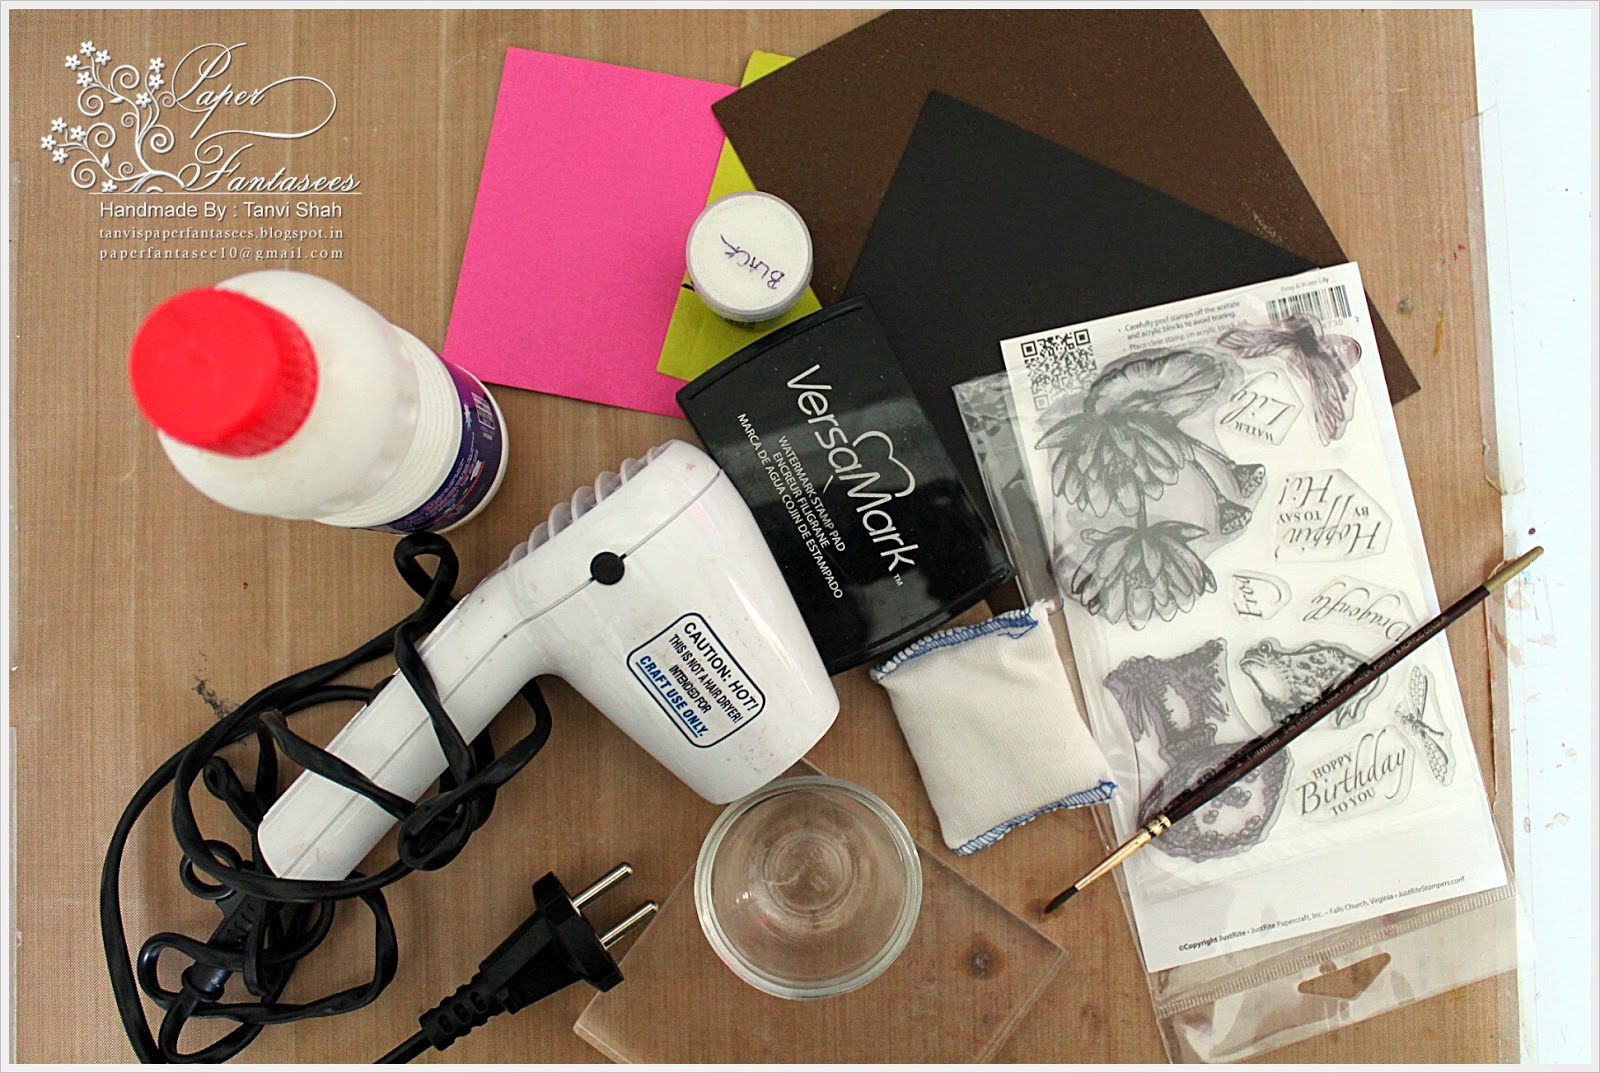
These are the supplies you will need for this - card stock (darker colors give better results), embossing powder (clear/white/black), stamp, embossing buddy, versmark ink, heat tool, bowl, applicator brush, fabric bleach (I have used Rin fabric bleach. Please make sure you use fresh bleach for best results ).

Heat emboss the image.
Pour a small amount of bleach in the bowl from the bottle.
Apply bleach using a paintbrush to the portion of the embossed image you want. It is magic to see the color change almost immediately!
Continue to add bleach until the entire image is bleached out.
Here are the final images.
Each color & card type will give varying results. By bleaching we are actually taking away color from the image. See how it reacts with a fuchsia CS.
Let dry & your image is ready. Use it to make a card, a tag, a bookmark anything you want.
Here is a completed card in which I have used brown cardstock.
Thanks for stopping by today & please do drop by again as my team shares some more embossing techniques to inspire you to join our current challenge - Challenge#11-Dry / Wet Embossing.


.jpg)


Wow ! I loved this technique Tanvi..Thanks for sharing :D !
ReplyDeleteloved it :) Thanks for sharing!
ReplyDeletegreat technique - looks beautiful
ReplyDeleteLove the technique Tanvi..fuchsia one looks awesome.. TFS !!
ReplyDeletewow!!! love this technique.technique!!
ReplyDeleteLove the different colours appearing on different coloured papers.. Very cool technique...i must try this out
ReplyDelete